Restoring a classic car is a labor of love, blending technical skill with a nostalgia that transcends generations. For enthusiasts dedicated to bringing these timeless beauties back to their former glory, finding cost-effective yet high-quality solutions to common restoration challenges, such as dent repair, is crucial. This guide provides a practical approach to repairing dents and creases using basic hand tools, proving that with a little patience and the right technique, you can achieve professional results on a budget.
Understanding the Damage
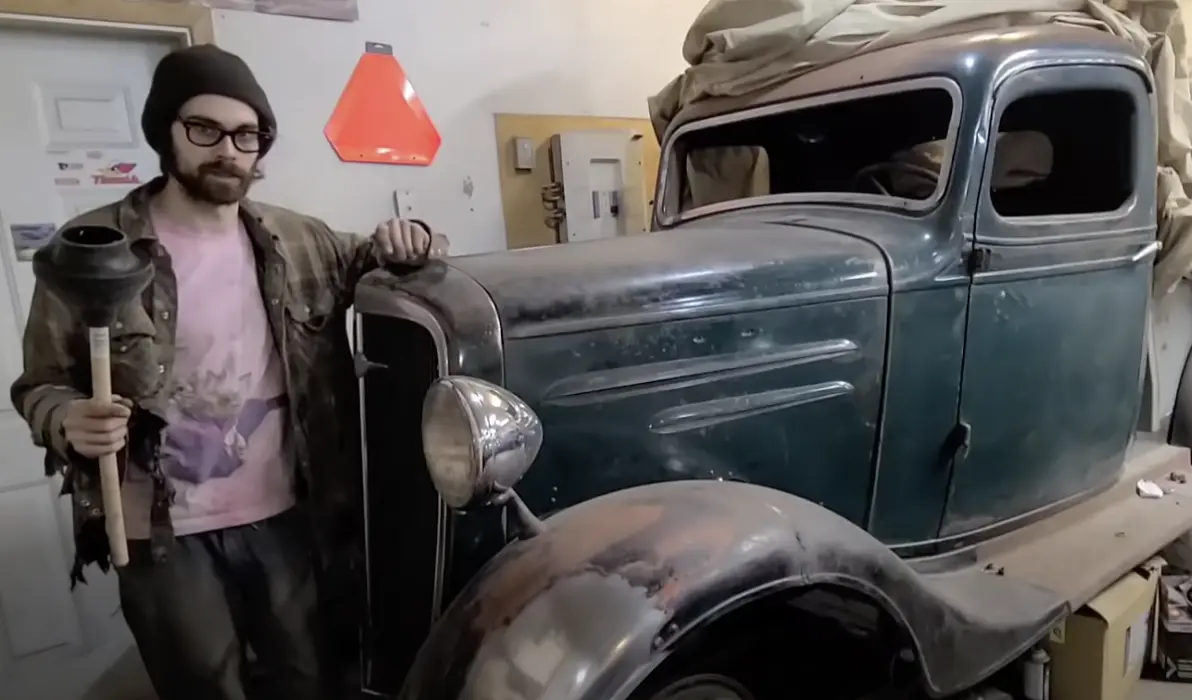
Imagine your project car: it could be any classic, each with its own history and set of challenges. The focus here is on a typical problem—dents and creases that mar the vehicle’s exterior. These imperfections can range from deep dents that disrupt the car’s sleek lines to minor nicks that spoil its otherwise pristine finish. The objective is clear: repair the damage efficiently and affordably, restoring the car’s aesthetic without resorting to costly professional bodywork.
Step 1: Initial Assessment and Strategy

The first step in the repair process is to assess the extent of the damage. Identify the types of dents present and their locations. This initial evaluation will guide your restoration strategy, helping you prioritize which areas to address first. The aim is to restore the panel’s original dimensions and contours, focusing initially on the most severely damaged areas before moving on to finer details.
Step 2: Basic Shaping with Hand Tools
Begin the repair process by gently shaping the metal. A rubber mallet is ideal for this stage, allowing you to nudge the metal back into place without stretching it unnecessarily. This foundational work is crucial for setting up the next phase of more detailed adjustments.
Step 3: Refining the Shape
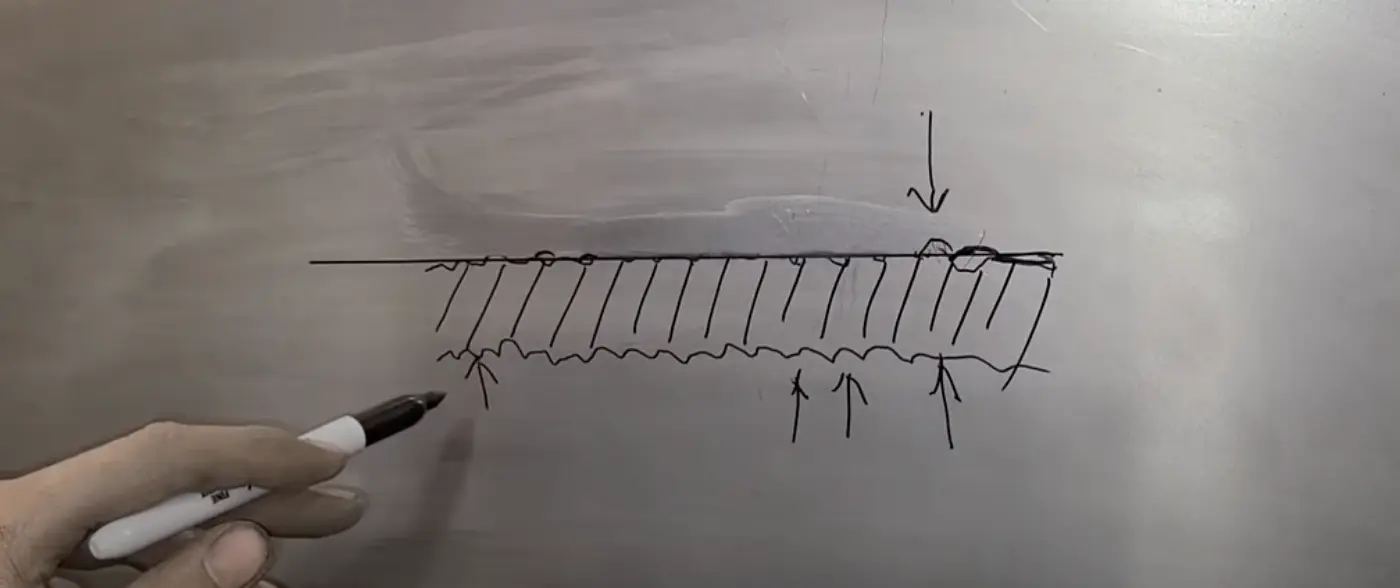
As the shape begins to return to its original form, switch to steel hammers and dollies for more precise control. This stage requires patience and a delicate touch, as you work to smooth out creases and level high spots. The goal is to methodically restore the panel, paying close attention to maintaining the correct contours and dimensions.
Step 4: Sanding and Visual Inspection
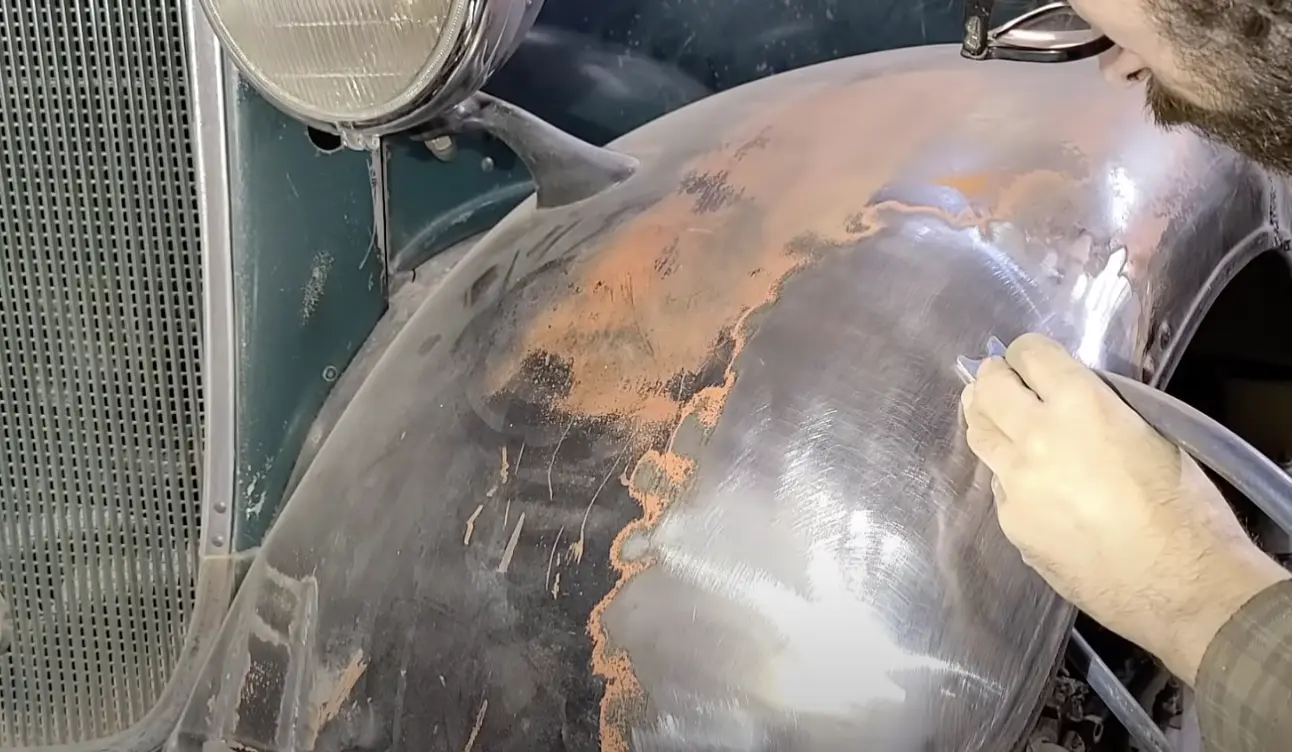
With the major adjustments made, use 80-grit sandpaper to sand the surface. This not only helps to reveal remaining imperfections but also prepares the panel for finer tuning. Visual inspection, aided by tactile feedback, is key to identifying areas that require additional work.
Step 5: Fine-tuning and Surface Preparation
For inaccessible spots or areas requiring precise adjustment, a bullseye pick is invaluable. This tool enables targeted corrections, raising low areas without causing additional harm. Following this, a Vixen file (or body file) is used to smooth the surface, removing tool marks and minor blemishes in preparation for painting.
Achieving a Flawless Finish
The final step involves a thorough grinding with an 80-grit disc to ensure a uniformly smooth surface, ready for primer and paint. This meticulous preparation is the cornerstone of a successful restoration, ensuring that the repaired panel seamlessly matches the rest of the vehicle.
This guide illustrates that with basic tools, a systematic approach, and a bit of elbow grease, DIY dent repair is not only possible but can also yield results that rival professional bodywork. Whether you’re restoring a car that’s been in the family for generations or working on a newly acquired project, the satisfaction of personally repairing and restoring it is unparalleled. Classic car restoration is an adventure in patience, skill, and creativity, and this guide is just the beginning of what you can accomplish in your garage.
