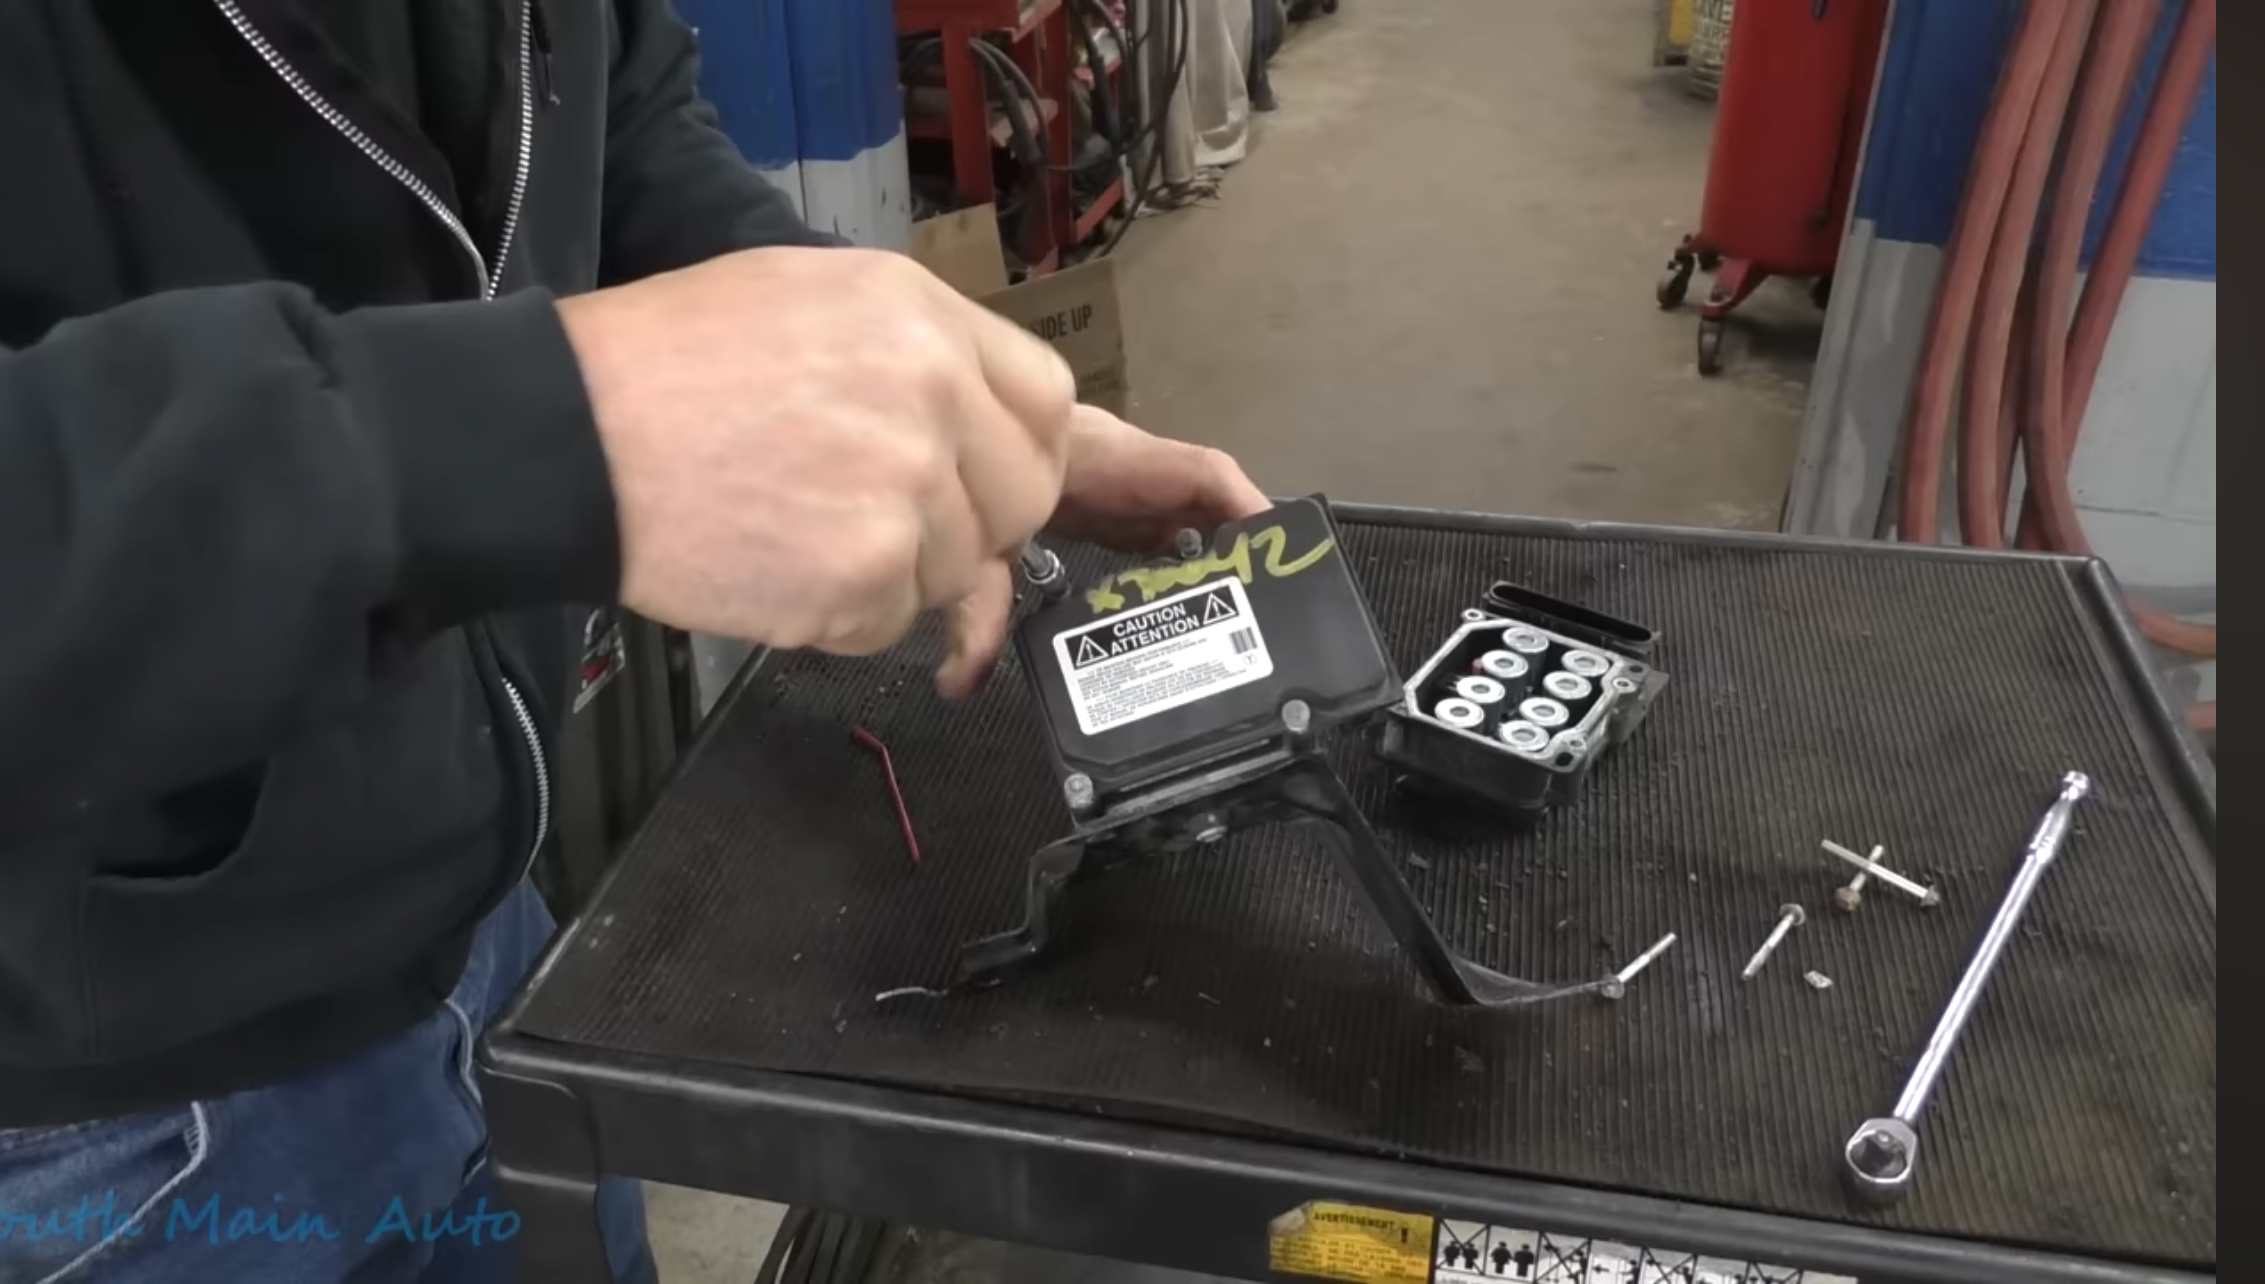
Have you ever walked out of a repair shop feeling like your wallet just got ambushed? You’re not alone. Mechanics often charge steep prices for repairs that you could easily do yourself at a fraction of the cost. The good news is that many common fixes don’t require a professional—and with just a few tools, you can handle them in your own driveway. Let’s break down five car repairs that are not only surprisingly simple but can also save you hundreds of dollars.
Replacing Spark Plugs and Ignition Coils
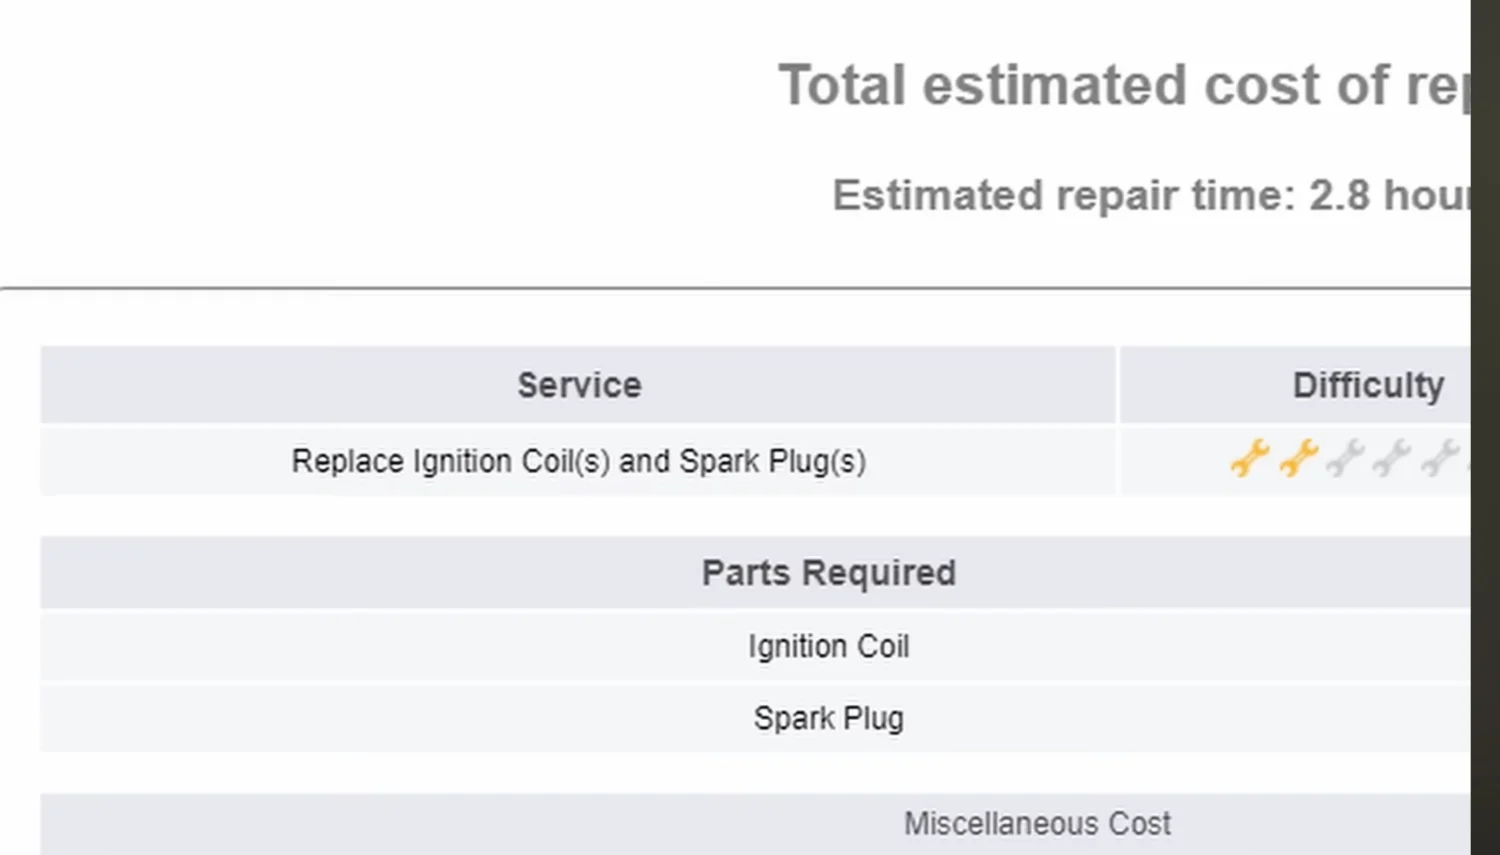
Spark plugs and ignition coils are some of the most straightforward components to replace, but many mechanics charge exorbitant rates for the job. If a coil on your six-cylinder engine needs replacing, a repair shop might suggest swapping all six—for around $900. But here’s the thing: you usually only need to replace the faulty one, and you can do it for about $50.
If you’ve got a check engine light and suspect the coils, start by getting the codes read. Most auto parts stores will do this for free, or you can pick up a basic code reader yourself. Once you know which cylinder is misfiring, it’s a quick fix. The ignition coil is held in place by a single bolt and an electrical connector, and once it’s out, you can replace the coil or even change the spark plug below it with a spark plug socket and extension. For most four- and six-cylinder engines, the coils are conveniently located right on top of the engine, making this a perfect beginner-friendly repair.
Swapping Out Oxygen Sensors
A glowing check engine light can also be a sign of a bad oxygen sensor. Shops often charge between $200 and $500 to replace one, but most sensors cost about $60 and can be swapped out in under an hour. Why the high cost? It comes down to the “book time” system that many mechanics use. Shops calculate labor based on standard time estimates, even if the job takes less time. That’s why a mechanic might bill you for an hour’s work when the repair only takes 20 minutes.
Oxygen sensors are usually located on the exhaust system, either near the engine or underneath the car. Before you grab your tools, unplug the sensor from its wiring harness. Then, use a wrench or a special oxygen sensor socket to remove it. Sometimes sensors can be a bit stubborn, especially in older cars, but a little elbow grease (or a breaker bar) will do the trick. Install the new sensor, reconnect the wiring, and that’s it. You’ve just saved yourself a couple of hundred bucks.
Changing Transmission Fluid
Many car owners shy away from transmission maintenance, assuming it’s too complex. But the reality is that changing your transmission fluid can be as simple as changing your oil. Mechanics typically charge several hundred dollars for this service, but you can do it yourself for under $100, even with premium fluid.
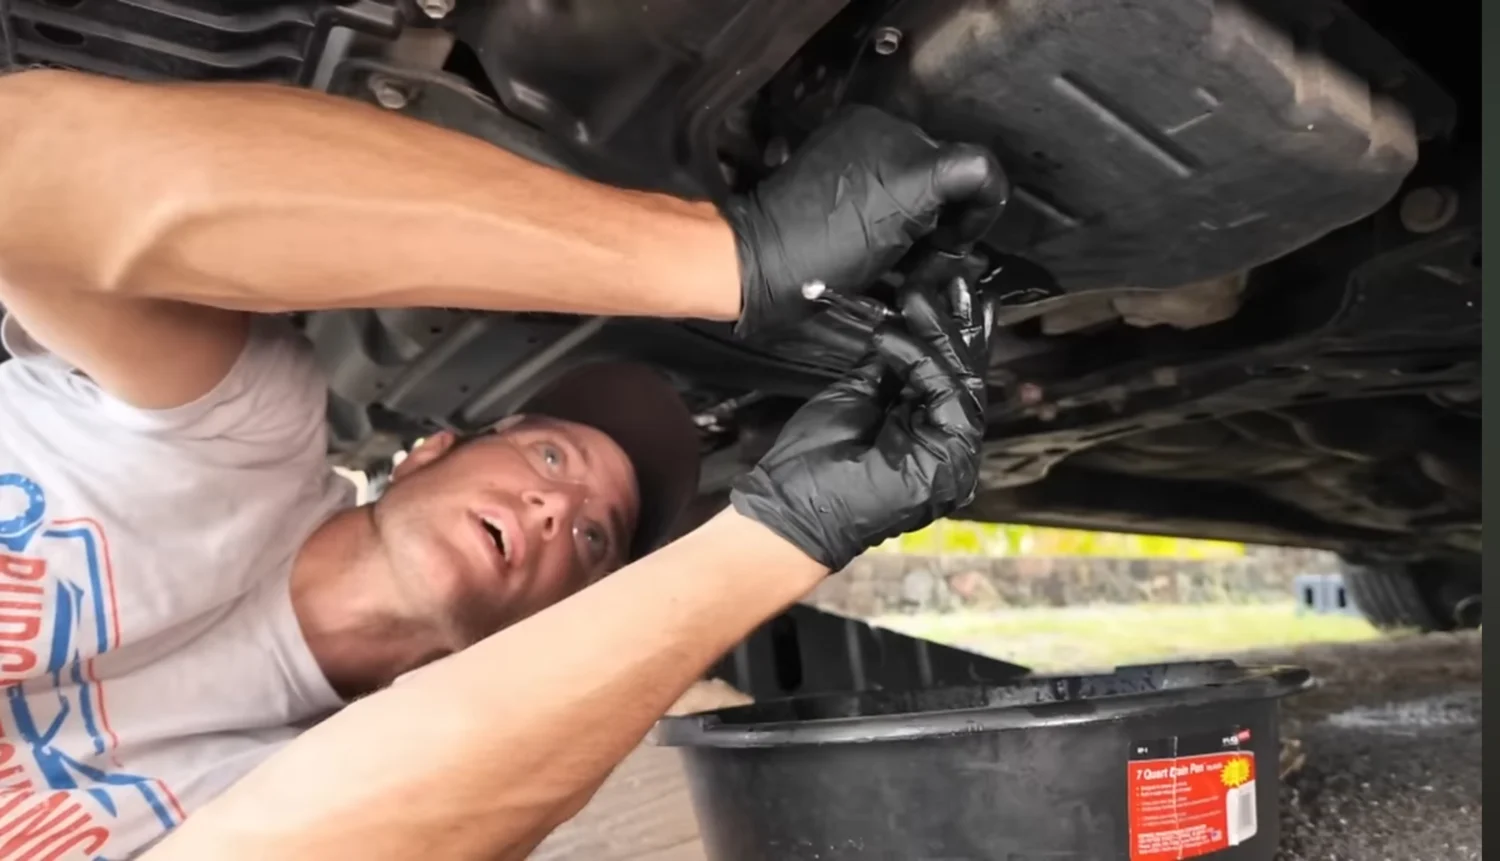
Start by draining the old fluid from the transmission. Most vehicles have a drain plug, and the process is similar to an oil change. Make sure to measure how much fluid you remove—this gives you a rough idea of how much to add back in. Depending on your car, you might refill the fluid through a dipstick tube, a side port, or even a separate fill plug. Always follow your vehicle’s specific instructions, as some transmissions require additional steps, like checking the level at operating temperature or letting excess fluid drain from an overflow port.
Once you’ve added the new fluid, start the car and shift through the gears to circulate it evenly. If you do this every 30,000 miles, you’ll keep your transmission running smoothly for years to come.
Brake Pads and Rotors
Few repairs are as satisfying—or as cost-effective—as doing your own brake work. Shops often charge $1,200 or more to replace pads and rotors on all four wheels, but the parts themselves cost around $300. That’s a massive markup for a job that’s well within the reach of any DIYer.
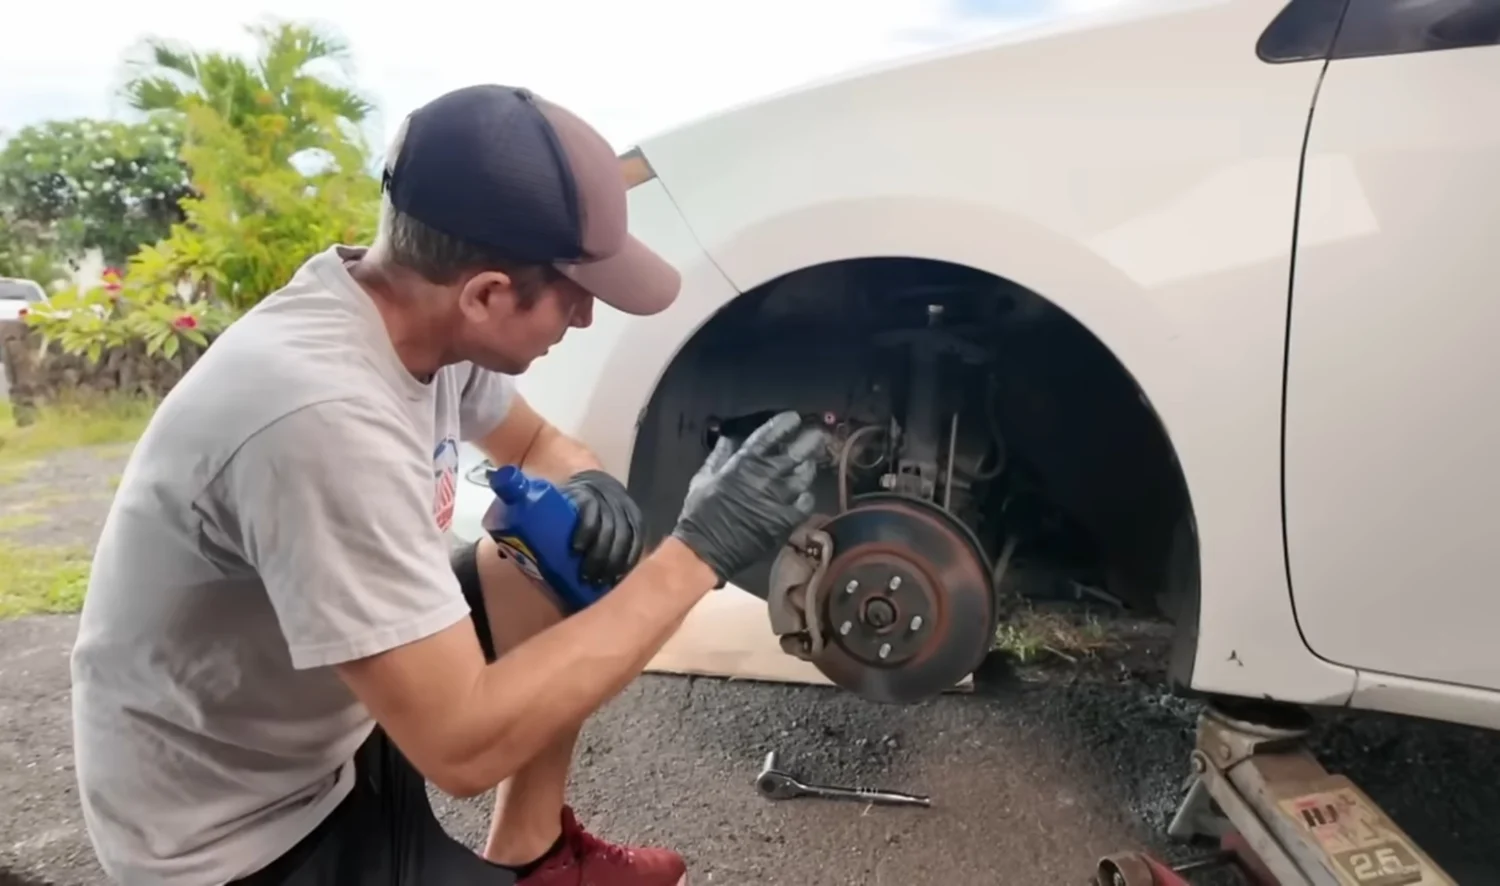
The process starts with removing the wheel and unbolting the brake caliper. If you’re just replacing pads, you can compress the caliper pistons, slide in the new pads, and reassemble everything in minutes. For a full brake service, you’ll also replace the rotors, which sometimes require a little persuasion to remove if they’re rusted on. A hammer and some patience usually do the trick. Once the new parts are installed, put the caliper back in place, tighten everything to spec, and you’re done.

Replacing Struts or Shocks
If your car feels bouncy or unstable, it might be time to replace the struts or shocks. While a shop might charge $700 or more for the front struts alone, the parts typically cost under $300—and you don’t need advanced skills to do the job.
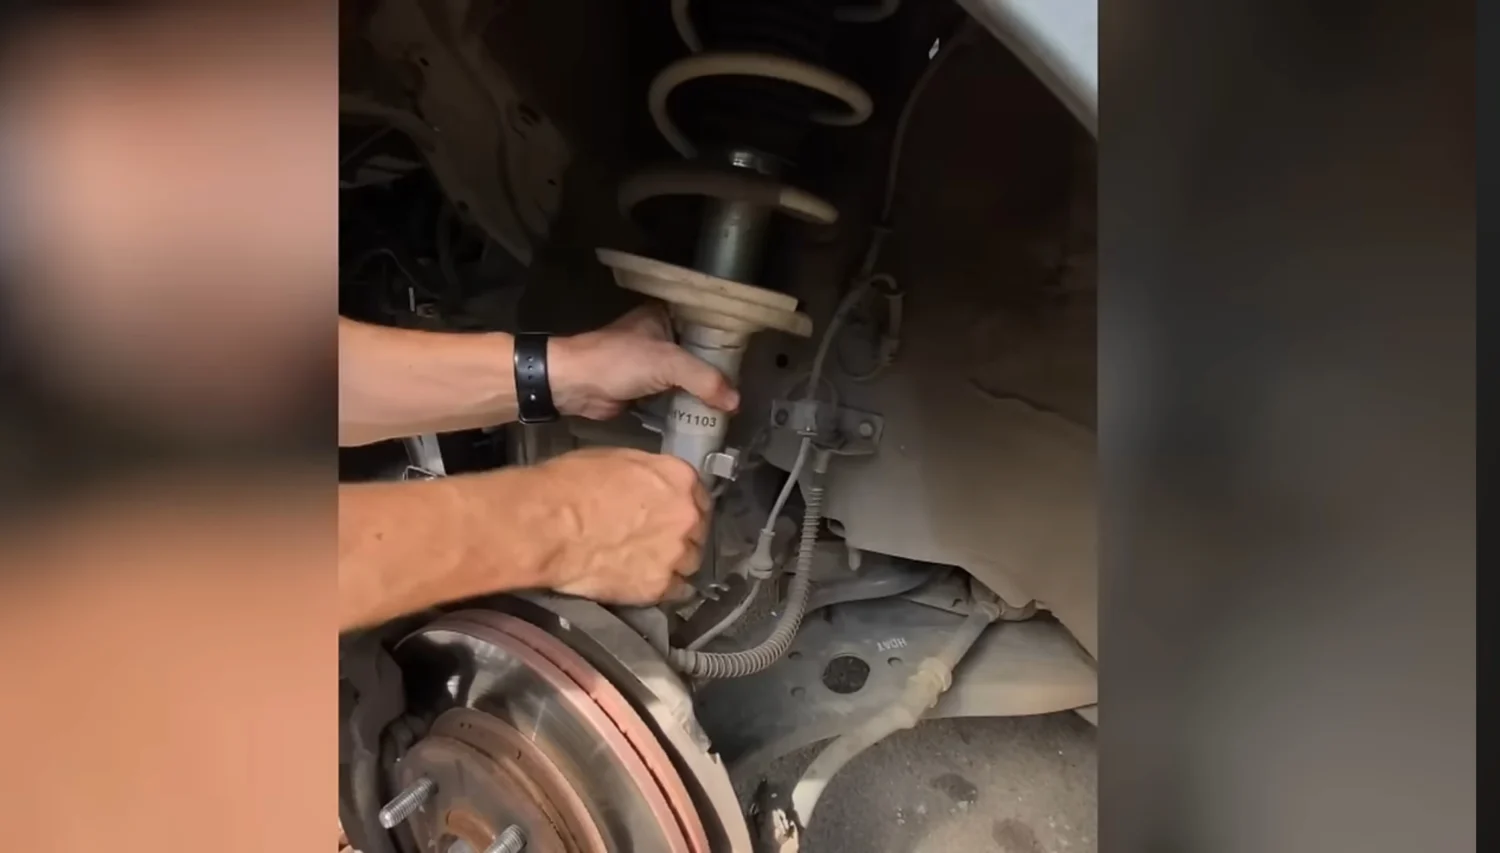
After jacking up the car and removing the wheels, you’ll disconnect the sway bar links, ABS sensor lines, and the two bolts that attach the strut to the hub assembly. Then, from under the hood, remove the nuts securing the top of the strut. With everything disconnected, the strut slides right out. Installing the new one is just the reverse of the removal process. It’s a bit of busy work, but nothing too complicated.
Why DIY?
The automotive repair industry often relies on “book time” to calculate labor costs, charging customers for time that mechanics don’t actually spend on the job. That’s why learning to handle basic repairs yourself can be so empowering—and cost-effective. By tackling these five jobs on your own, you can save thousands over the life of your car.Ready to get started? Check out the full video on Budget Mechanic’s YouTube channel for step-by-step demonstrations and more tips.


