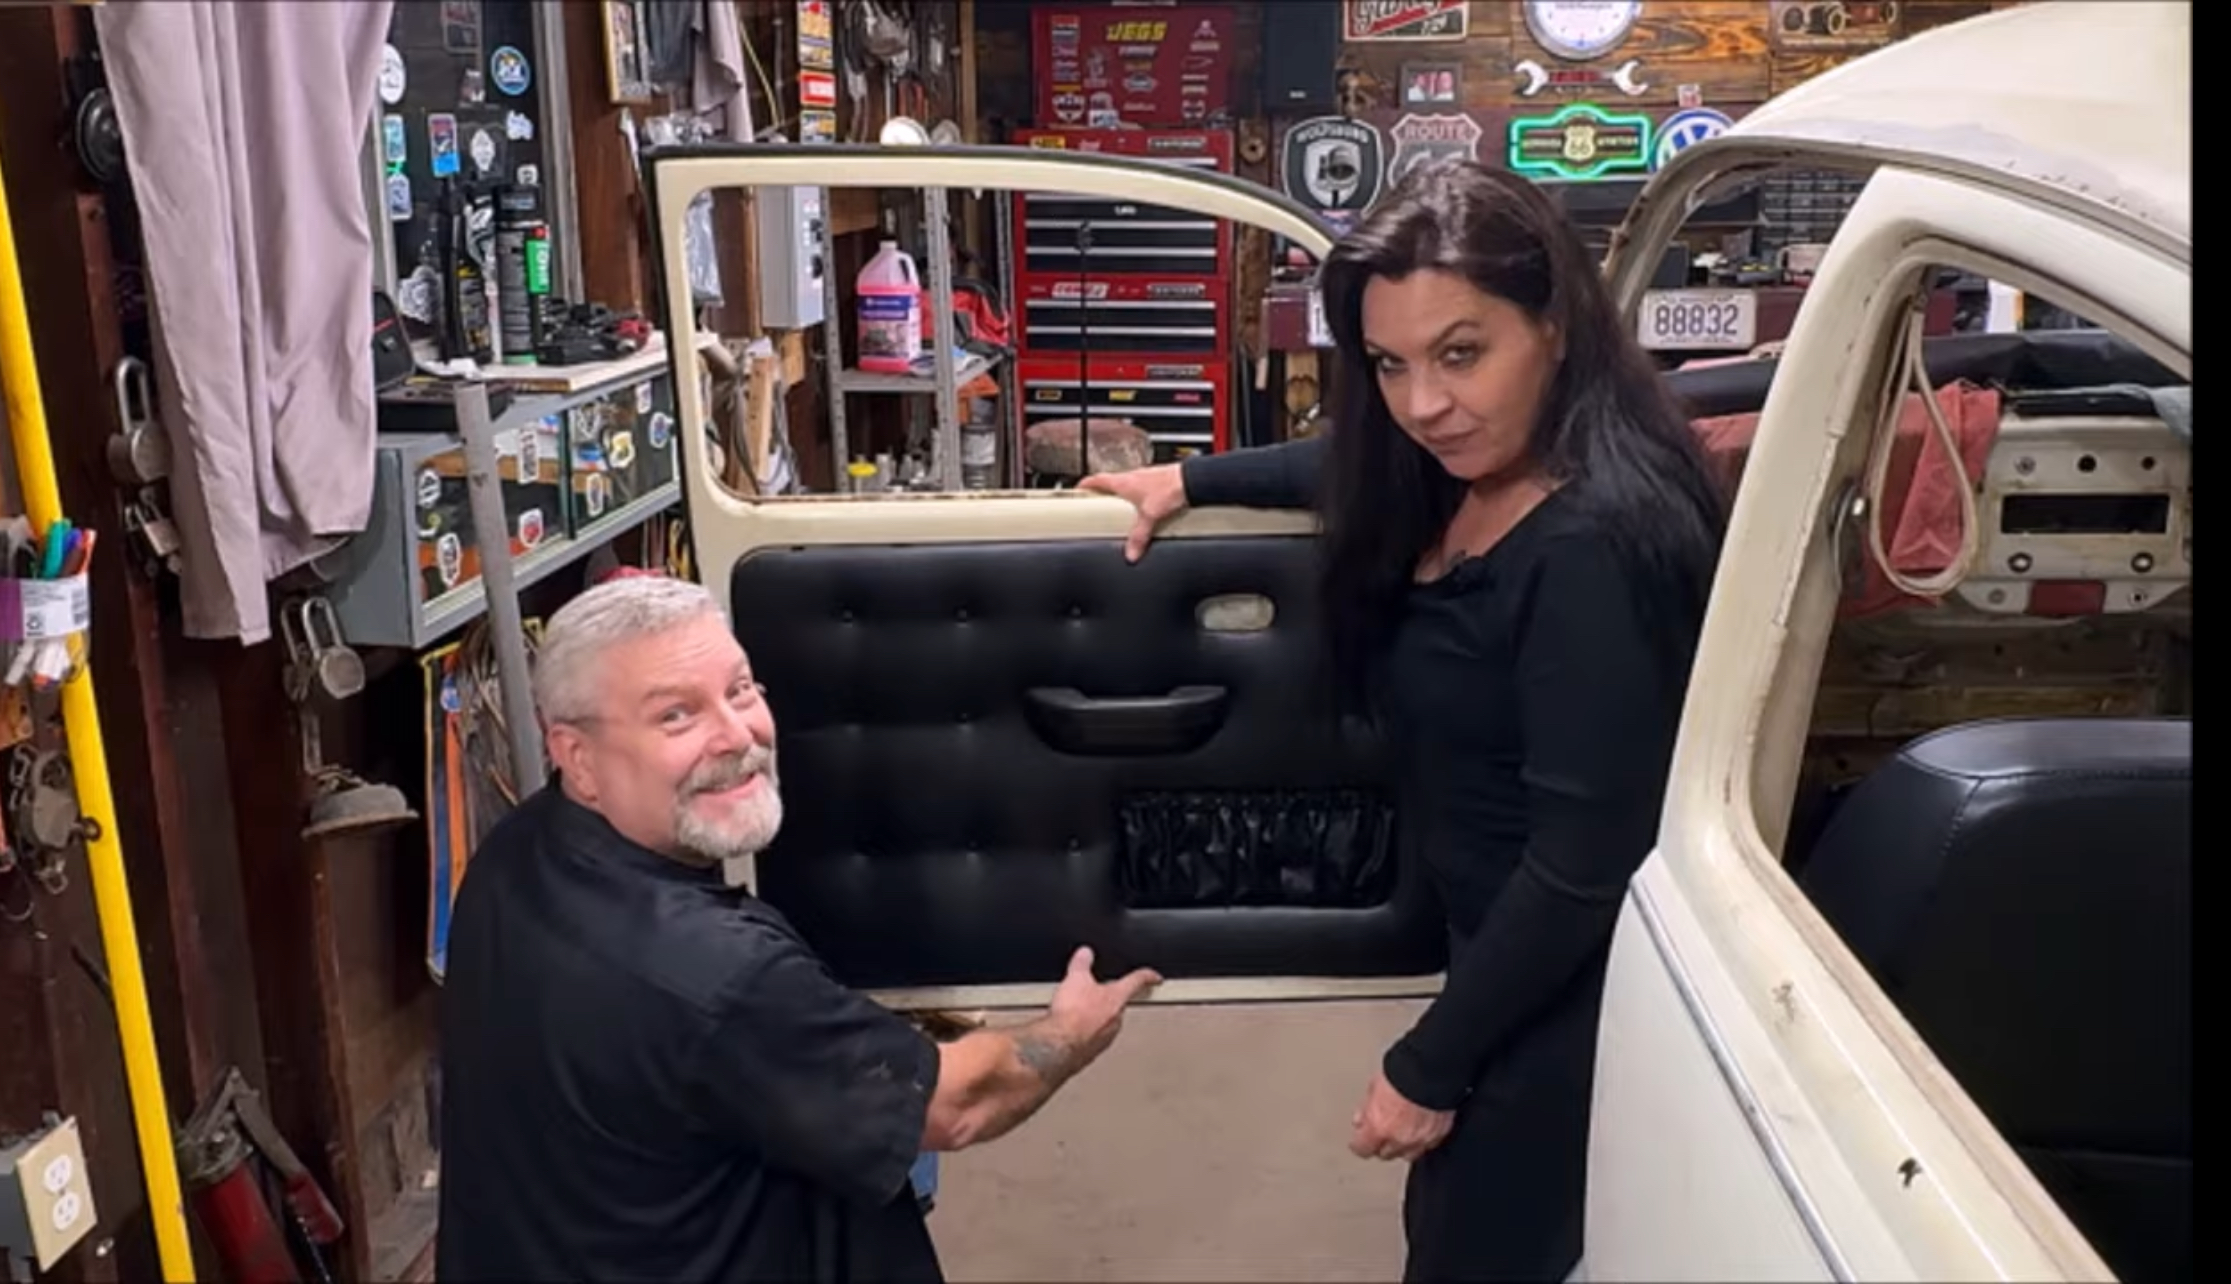
If you’re a fan of classic VW Beetles or love restoring vintage cars, learning to completely disassemble a VW Beetle door is an essential skill. In this guide, we’ll walk you through the process step-by-step, sharing tips and tricks along the way. This method is perfect for anyone looking to restore their Beetle, fix a door mechanism, or prep for custom upholstery. Let’s dive into the world of VW Beetle restoration!
Getting Started: Tools and Preparation
Before diving into the disassembly, gather your tools:
- Phillips screwdriver
- 10mm socket
- Plastic pry tools (to avoid scratches)
- Thin flathead screwdriver
- Optional: Sandwich baggies or tape to organize screws and parts.
As always, label your parts for easy reassembly. Taking photos during the process can be a lifesaver when putting things back together.
Step 1: Removing the Door Panel
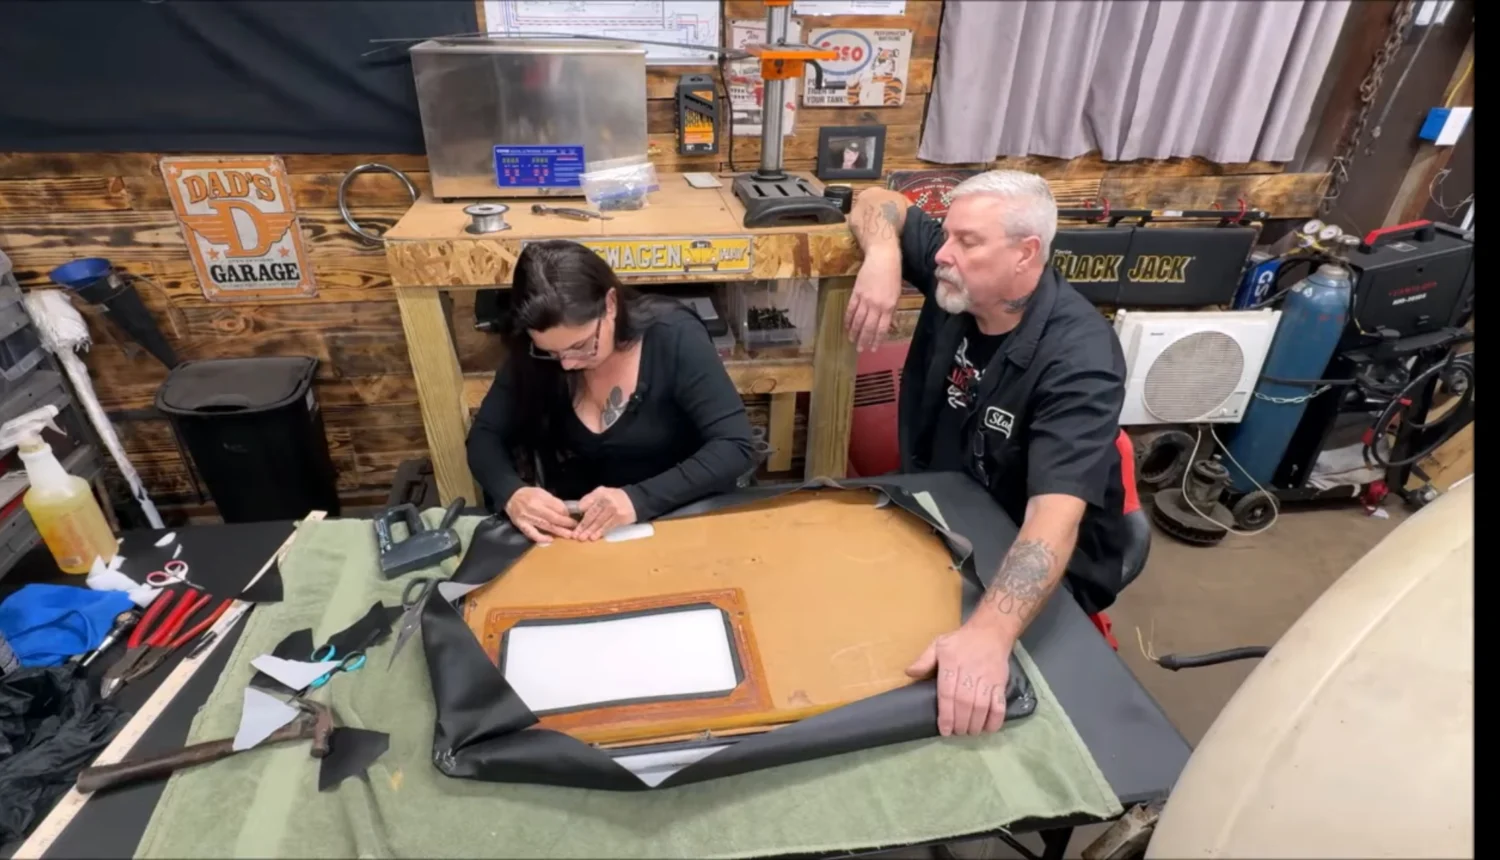
Start by unscrewing the window winder with a Phillips screwdriver. Use a plastic pry tool to carefully detach the door panel. If your panel is glued, work slowly to preserve the pattern for future use. For customizations, consider diamond tuck upholstery or other personal touches.
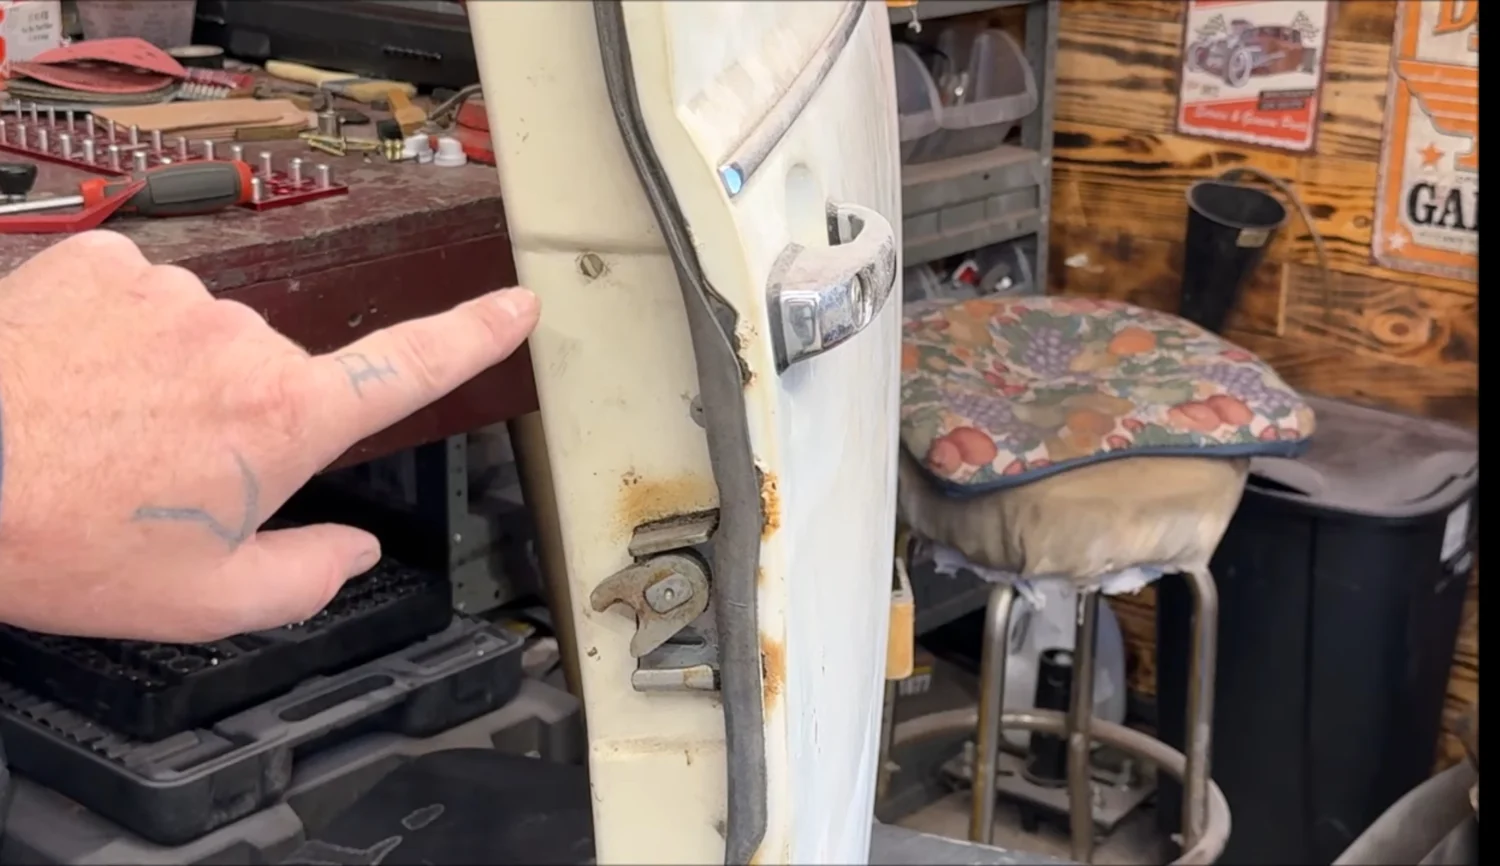

Step 2: Detach the Outside Door Handle
Locate the small plastic plug on the handle, which serves as an access point for lubrication. Remove the surrounding seal gently unless you plan to replace it. Unscrew the bolts holding the handle in place. A light tap can help loosen stubborn bolts. Keep the screws with the handle for easy reassembly.
Step 3: Remove Window Components
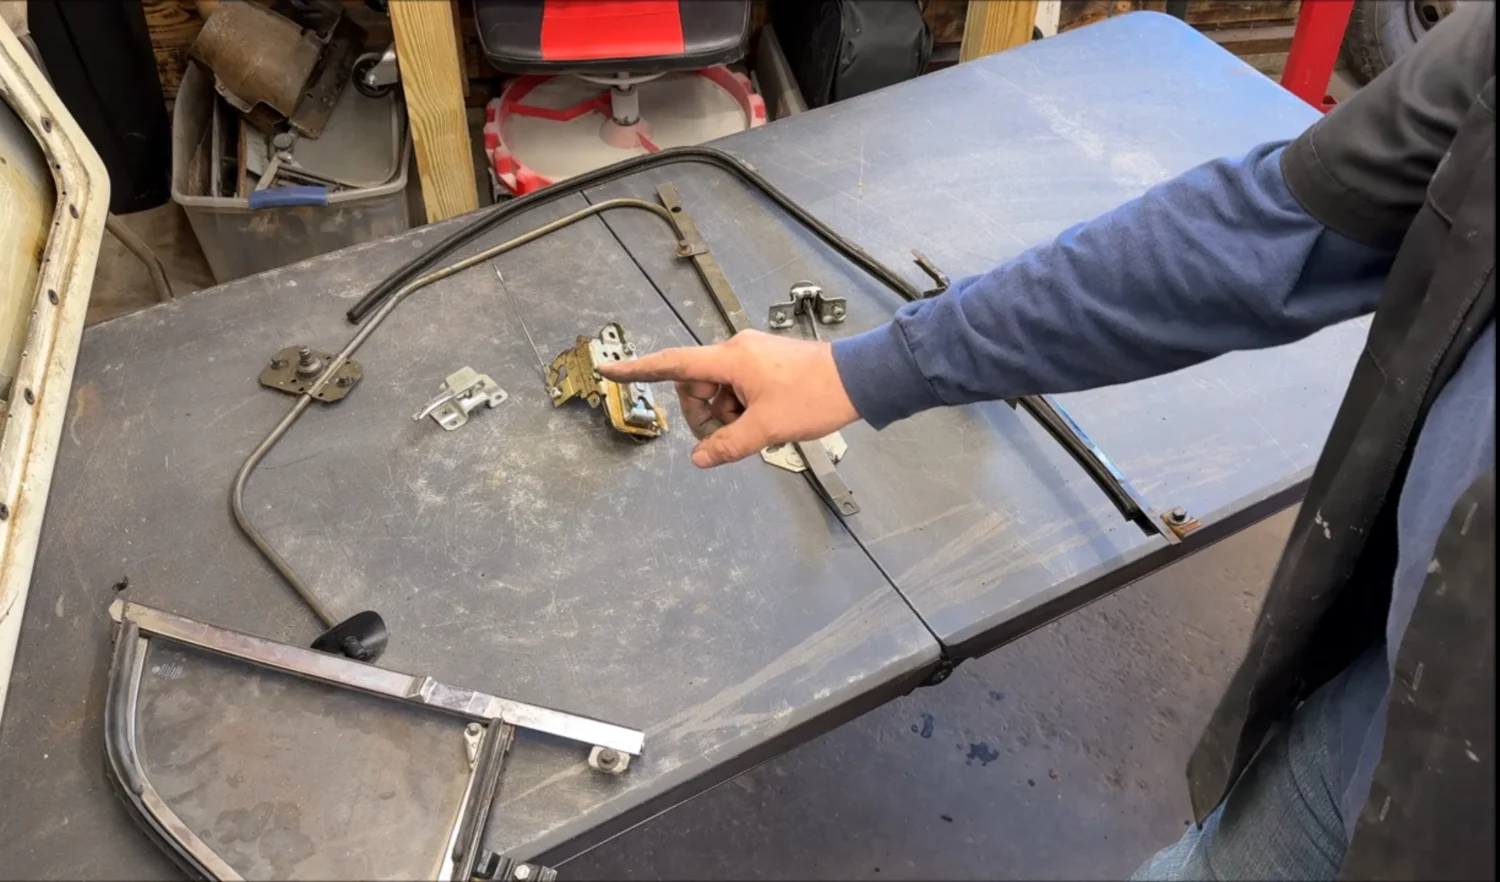
Carefully unscrew and remove the window glass. Pay attention to the small rubber pads and spacers, which prevent rattling. These pieces are crucial for maintaining a smooth operation, so keep track of them. Next, remove the vent wing and its associated screws. This step can be tricky, so take your time to avoid damaging the surrounding rubber and chrome trim.


Step 4: Removing the Regulator and Latch Mechanism
Once the window and vent wing are out, focus on the window regulator. If the mechanism feels tight, consider cleaning and lubricating it for smooth operation. For the latch mechanism, remove the screws and gently detach the rods and clips. Take note of the orientation and placement for reassembly. Clean and grease the latch for long-lasting performance.
Step 5: Weather Stripping and Chrome Trim
Pull out the old weather stripping and clean the channel thoroughly. Use a wire brush and a solvent safe for paint to remove old adhesive. When replacing the weather stripping, remember that new seals may make the door harder to close initially—this is normal. Let the door sit closed for a day or two to allow the rubber to mold to its new shape.
For chrome trim, remove it carefully, preserving the original German clips if possible. These clips hold better than modern replacements, ensuring your new trim stays secure.

Final Tips and Tricks
Label Everything: Place screws and bolts back into their respective parts or use labeled baggies to avoid confusion during reassembly.
Inspect Hinges: Check the door hinges for play or wear. Smooth, tight hinges indicate good condition.
Rust Treatment: Once disassembled, inspect for rust. Use phosphoric acid or a rust converter to prevent future corrosion.
Customization Opportunities: This is a great time to add personal touches, like custom upholstery or upgraded trim.

What’s Next?
In the next phase, we’ll tackle bodywork, including sanding, filling, priming, and painting the door. If you’re restoring your VW Beetle, don’t miss the upcoming guide on preparing and priming a classic door for a flawless finish.
Dedicated to VW Beetle and Super Beetle enthusiasts, the Slades YouTube channel provides detailed “how-to” videos for restoring and maintaining air-cooled classics. From upholstery tips to full restorations, Slade’s channel is a must-visit for Beetle fans.
Support Slade’s Work:
For more guides and community updates, visit Slade’s Website.
Disassembling a VW Beetle door is a rewarding task for any classic car enthusiast. With patience, attention to detail, and guidance, you can restore your Beetle to its former glory. Stay tuned for more restoration content and happy wrenching!
