The 2007 Honda Pilot isn’t exactly the first vehicle that comes to mind when you think of off-roading, but with the right modifications, it can surprise you. In this project, we installed the HRG 3-inch Ultimate Lift Kit, and the results were beyond expectations. Despite the Pilot’s high mileage, the kit delivered over 3 inches of lift—proving that with the right parts and some elbow grease, even an aging SUV can get a new lease on off-road life.
While Honda equipped the Pilot with off-road-inspired features like skid plates and all-terrain tires, it still sits a little too low for serious trail adventures. This lift kit solves that problem by increasing ground clearance and improving the approach, departure, and breakover angles—critical for tackling tougher terrain.
Let’s dive into the process and see what it took to transform this everyday SUV into an off-road contender.
Prepping for the Lift
Before diving into any suspension modifications, it’s always a good idea to inspect key components like bushings, shock absorbers, bump stops, and sway bar links. Replacing worn-out parts during the installation process can save time and effort down the road, ensuring the suspension performs optimally once the lift is in place.
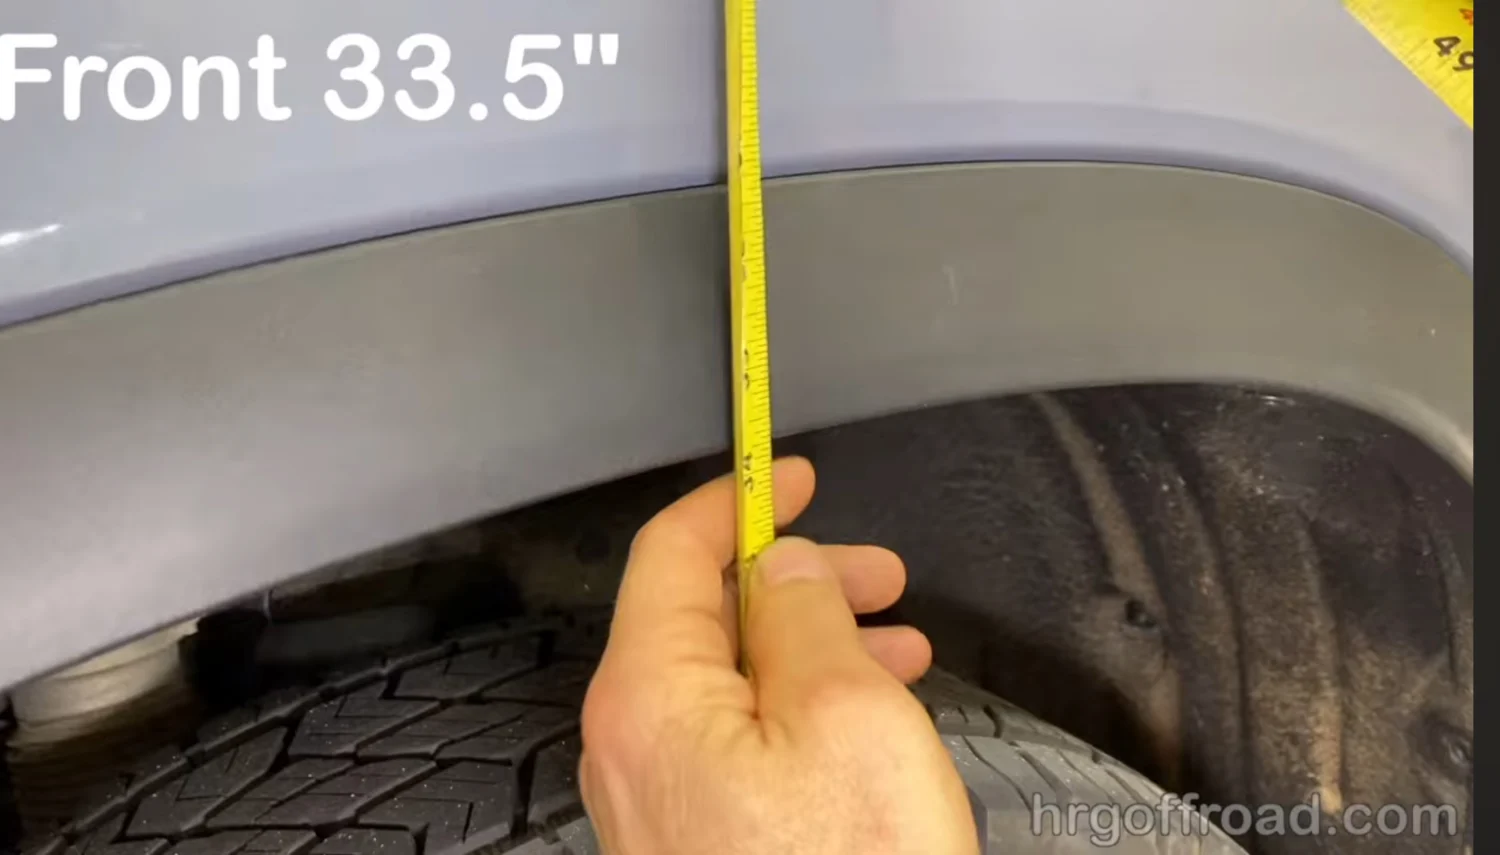
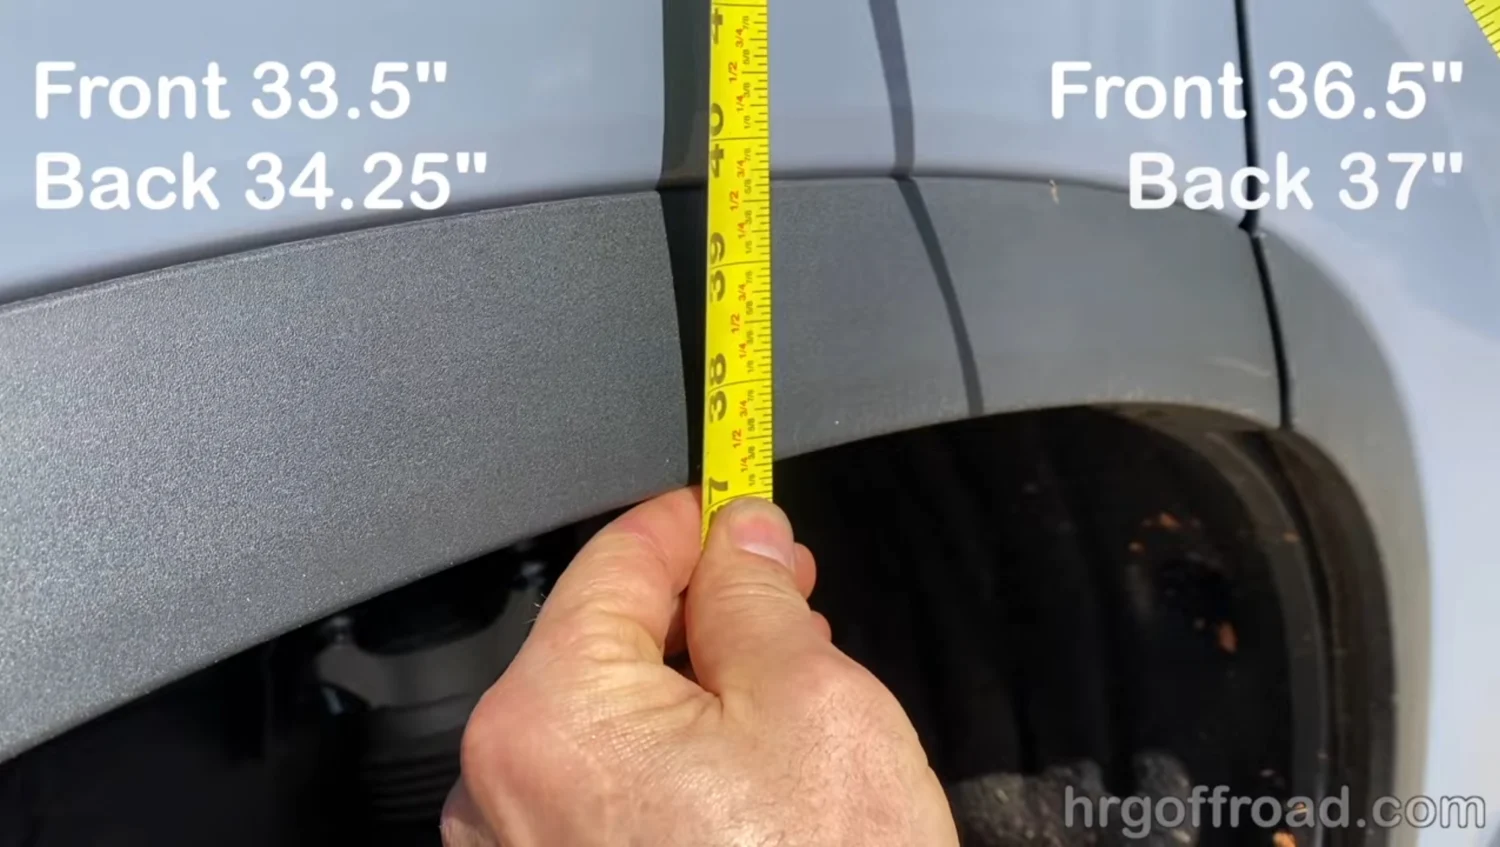
Measuring the vehicle’s ride height before installation helps establish a baseline for comparison. On this particular Pilot, we found a front height of 33.5 inches and a slightly higher 34.25 inches in the rear. With the HRG lift kit, there are a couple of options:
- A level stance, which provides equal lift front and rear.
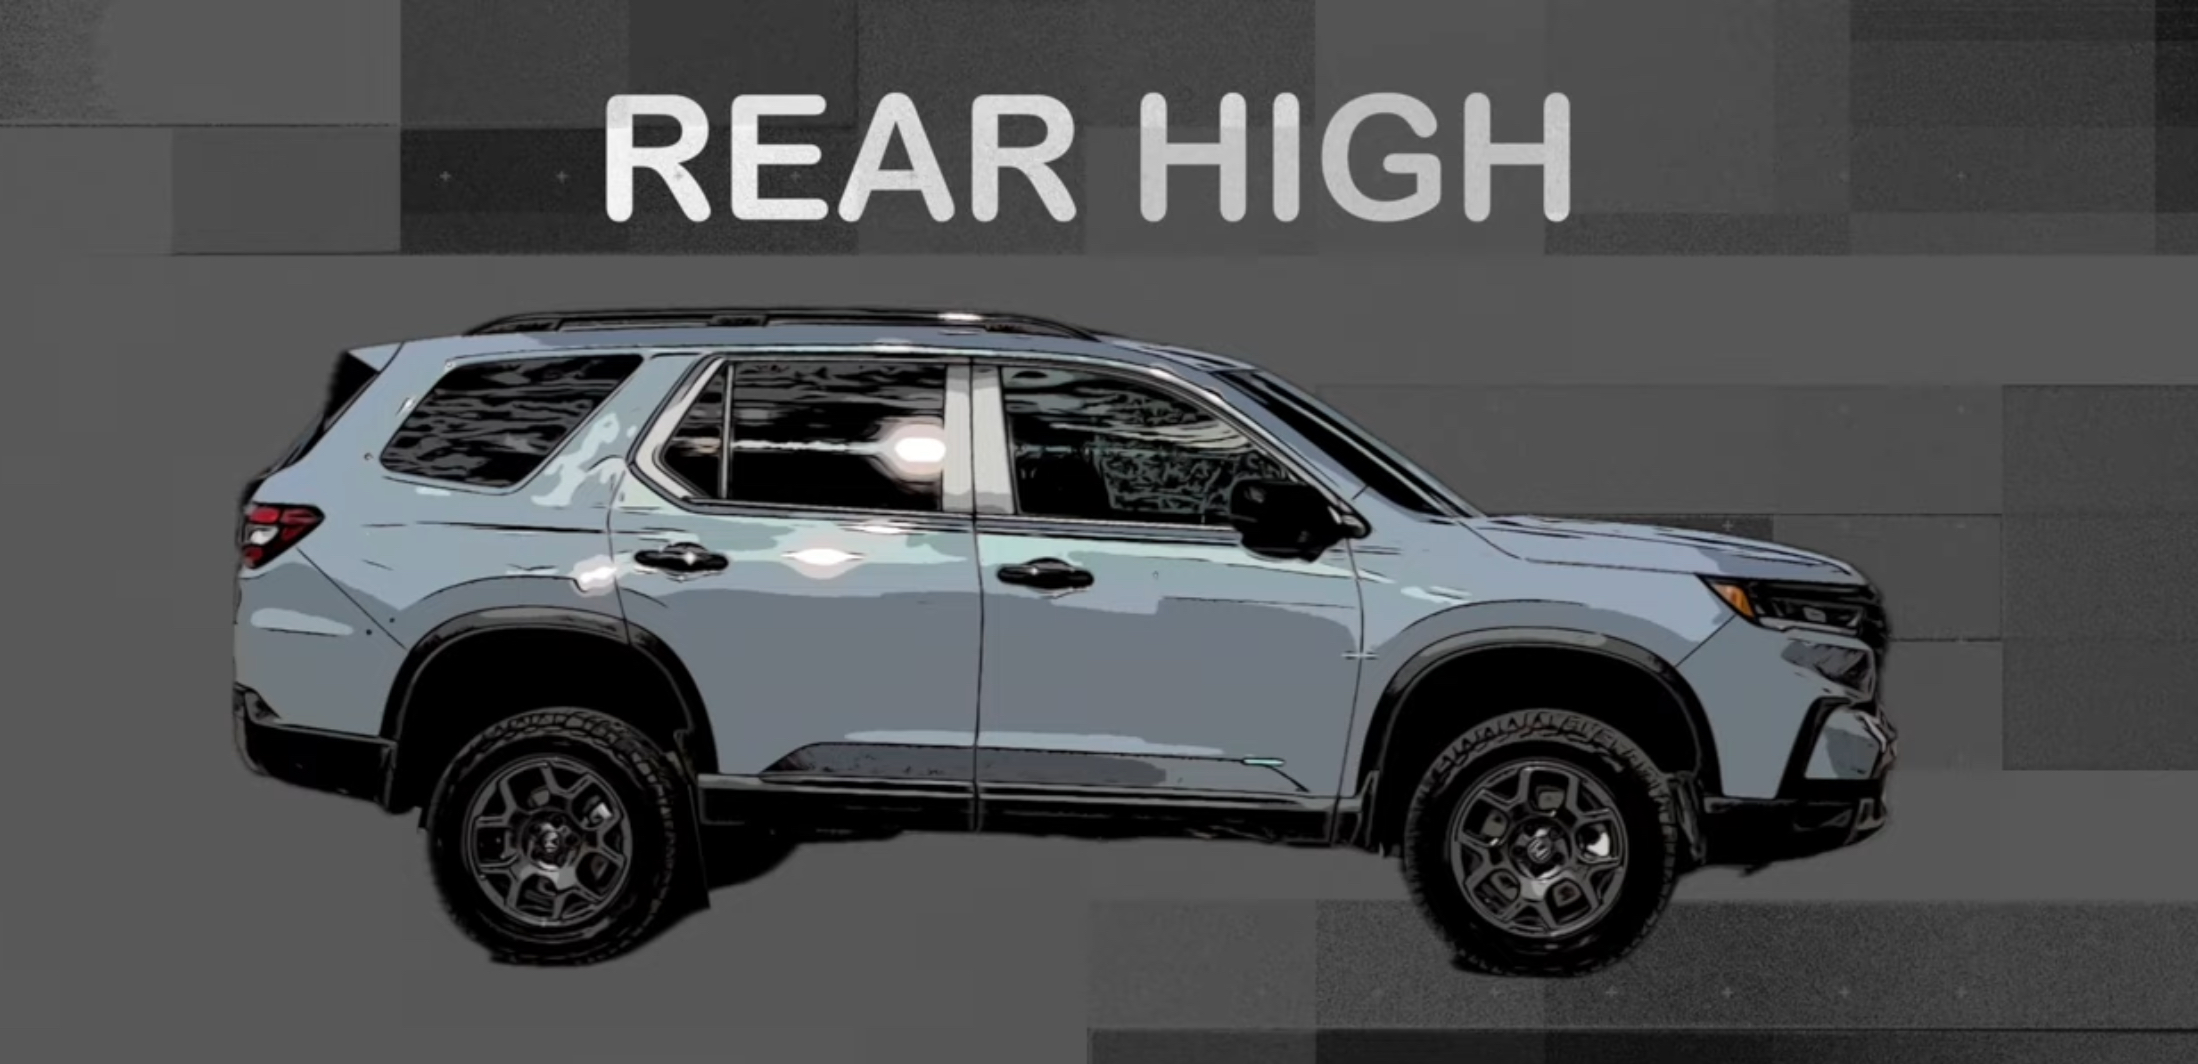
- A rear-high stance, ideal for those who frequently carry heavy loads, tow, or use rooftop tents.
For this build, we opted for the rear-high configuration, ensuring the vehicle could handle extra gear without sagging.
Installing the Front Lift
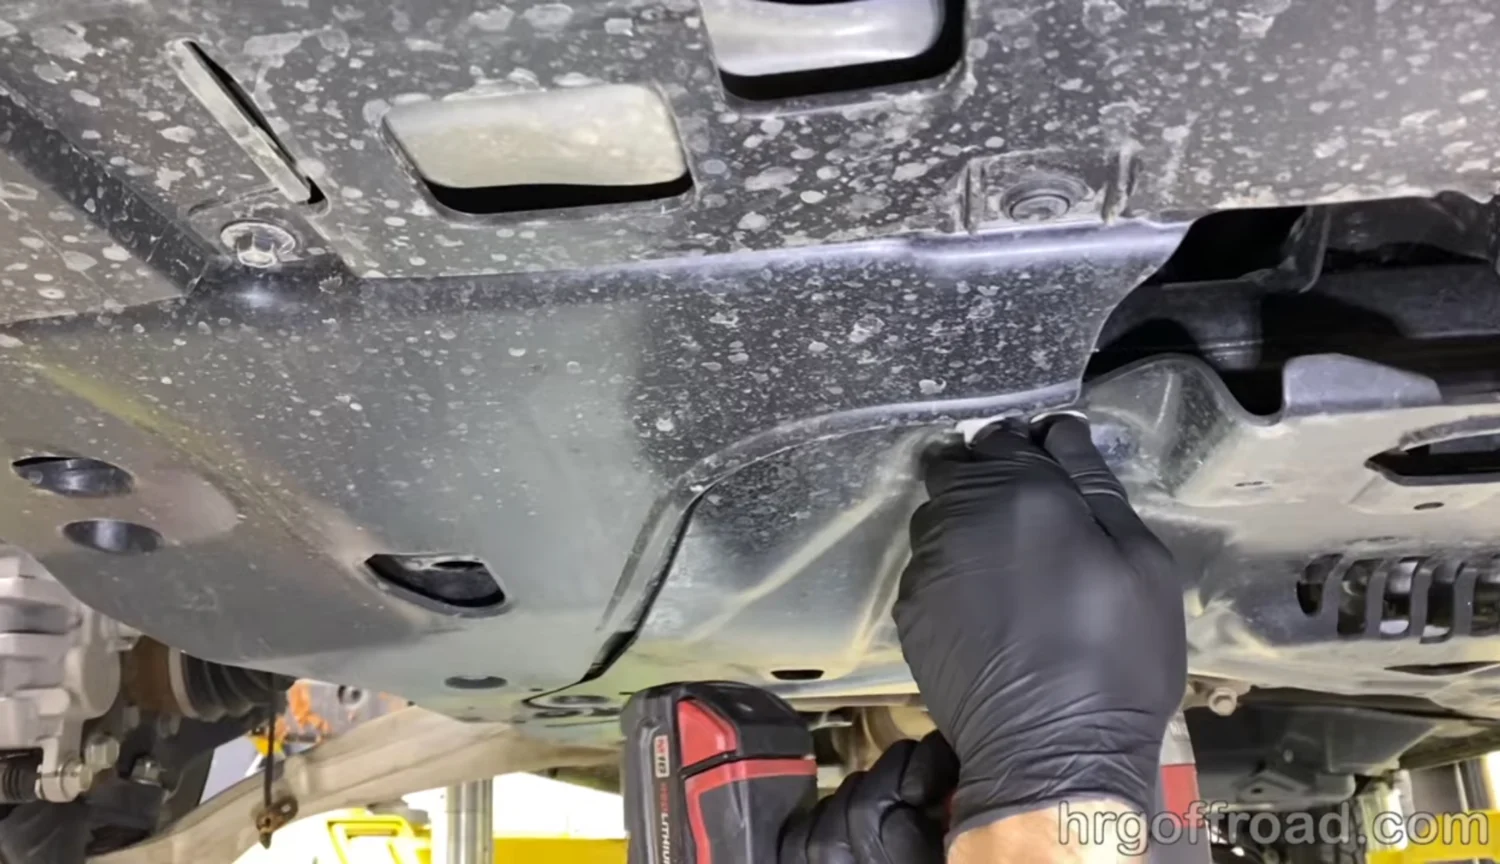
The front suspension install began with removing the factory bolts and preparing the subframe for the new lift spacers. One key takeaway here—always have proper support in place before loosening suspension components. With the subframe supported, the installation process involved threading in the new, longer bolts to maintain alignment before lowering the subframe into place.
The HRG lift kit spacers are designed to fit in three different ways, but the correct orientation ensures the “L” and “R” markings face up when viewed from the bumper. It might feel counterintuitive at first, but remember: left side always refers to the driver’s side, and right side to the passenger side.
Once everything was lined up, it was time to tackle the fender liner. With the subframe now sitting lower, the mounting holes no longer lined up perfectly. Drilling a couple of new holes ensured everything stayed securely in place, with a clean and professional look.
Rear Suspension Installation: Easier Than Expected
Moving to the rear, the installation followed a similar process—though it turned out to be more straightforward than expected. The new Honda Pilot design does not include trailing arms, which simplified the job.
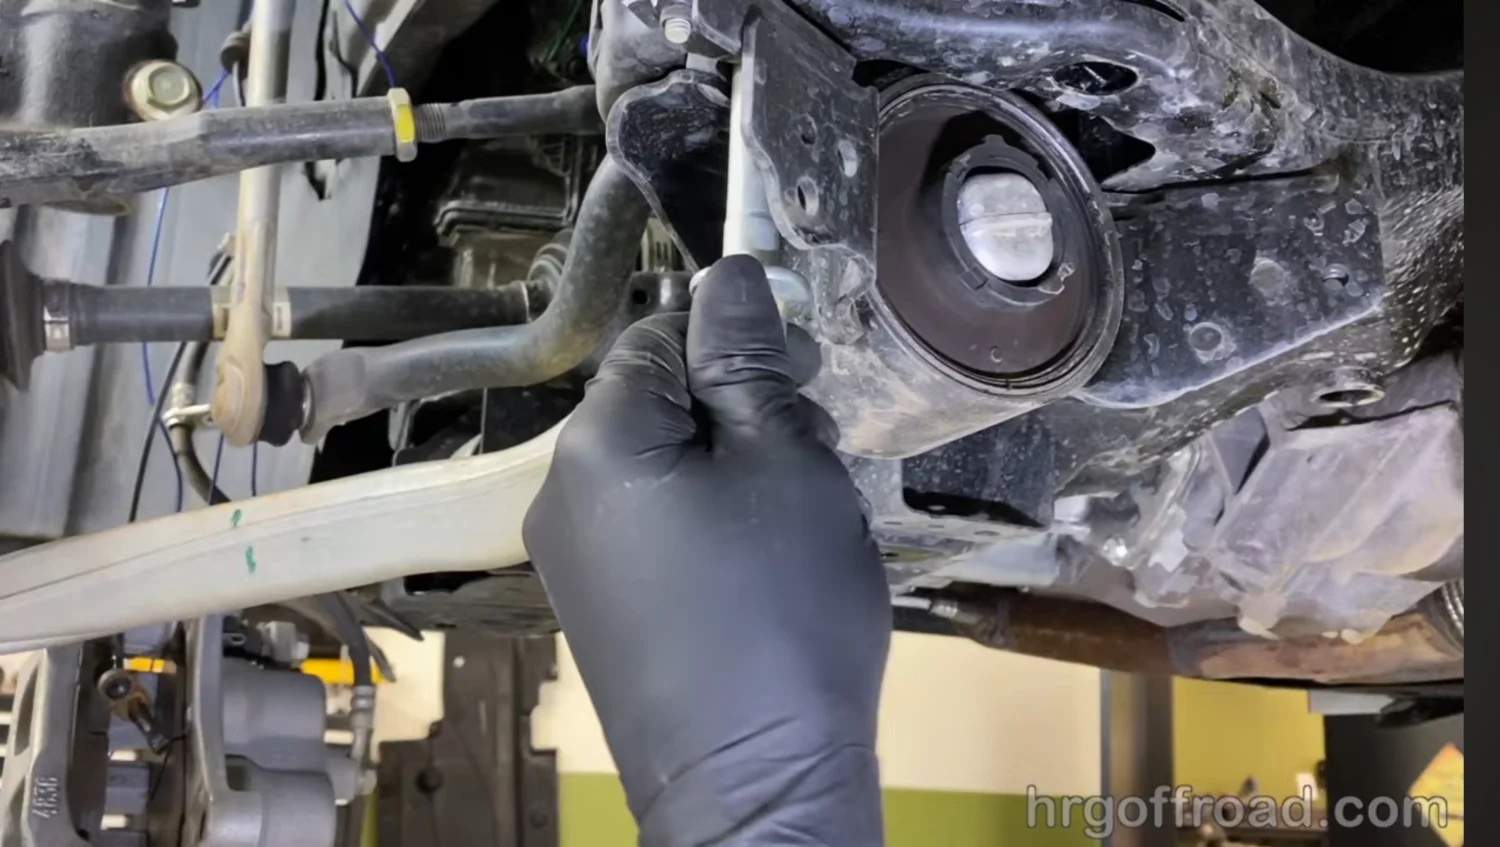
We started by removing the four main subframe bolts and their respective stiffener brackets, then inserted the lift spacers before reinstalling everything. As with the front, it was crucial to thread in the new bolts before fully lowering the subframe to keep everything aligned properly.
Unlike some lift kits, the HRG design doesn’t require lowering the exhaust system, making the installation much easier. The added clearance allowed for a larger spring spacer to be installed, raising the rear height while maintaining factory ride quality.
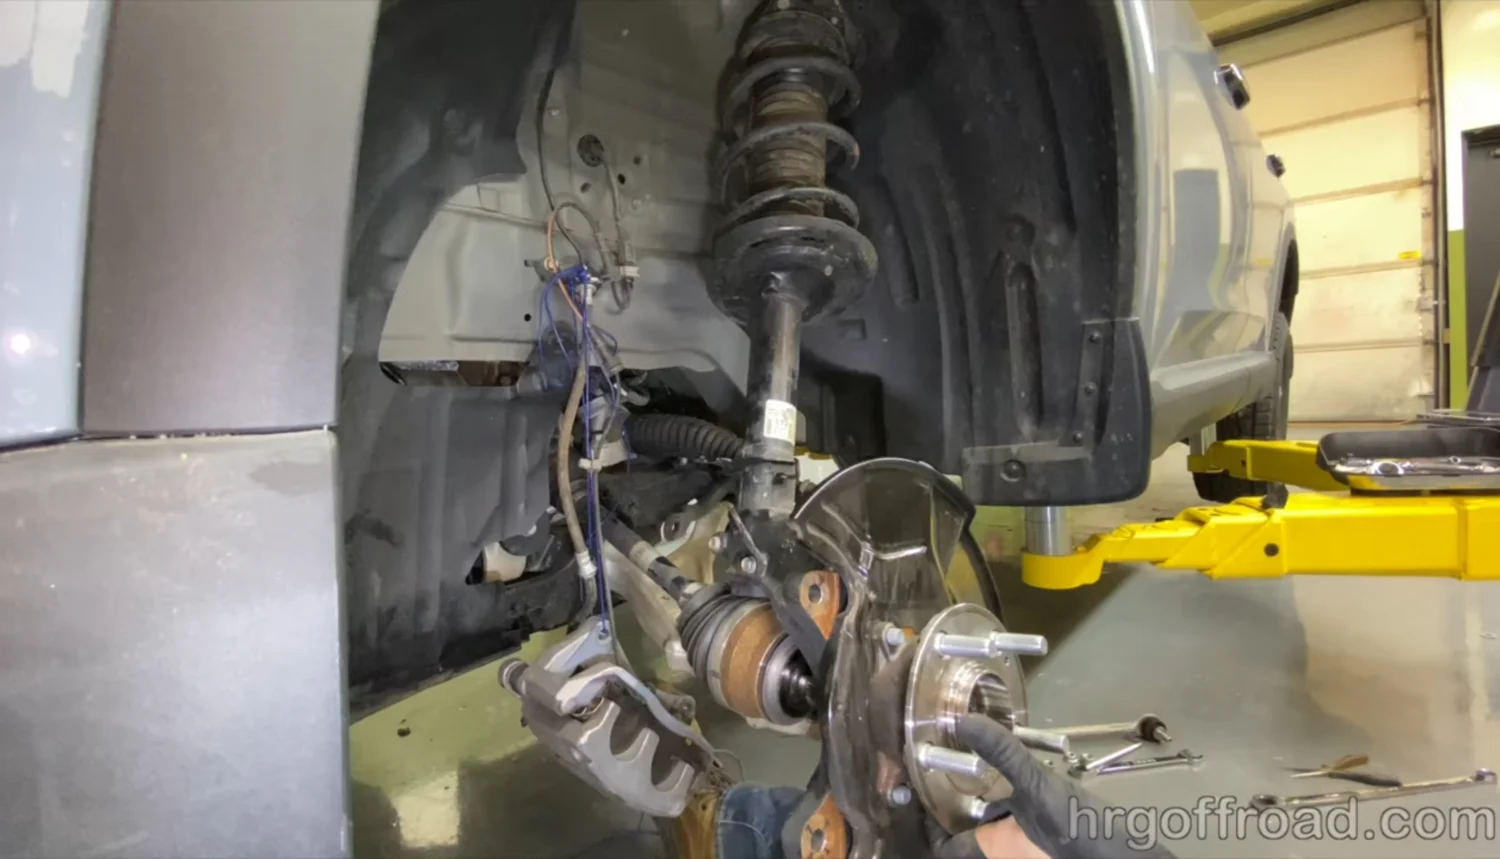
One important lesson learned during the install: never place tires directly under the vehicle when working on suspension components. They can shift unexpectedly, creating potential safety hazards.
Fine-Tuning the Installation
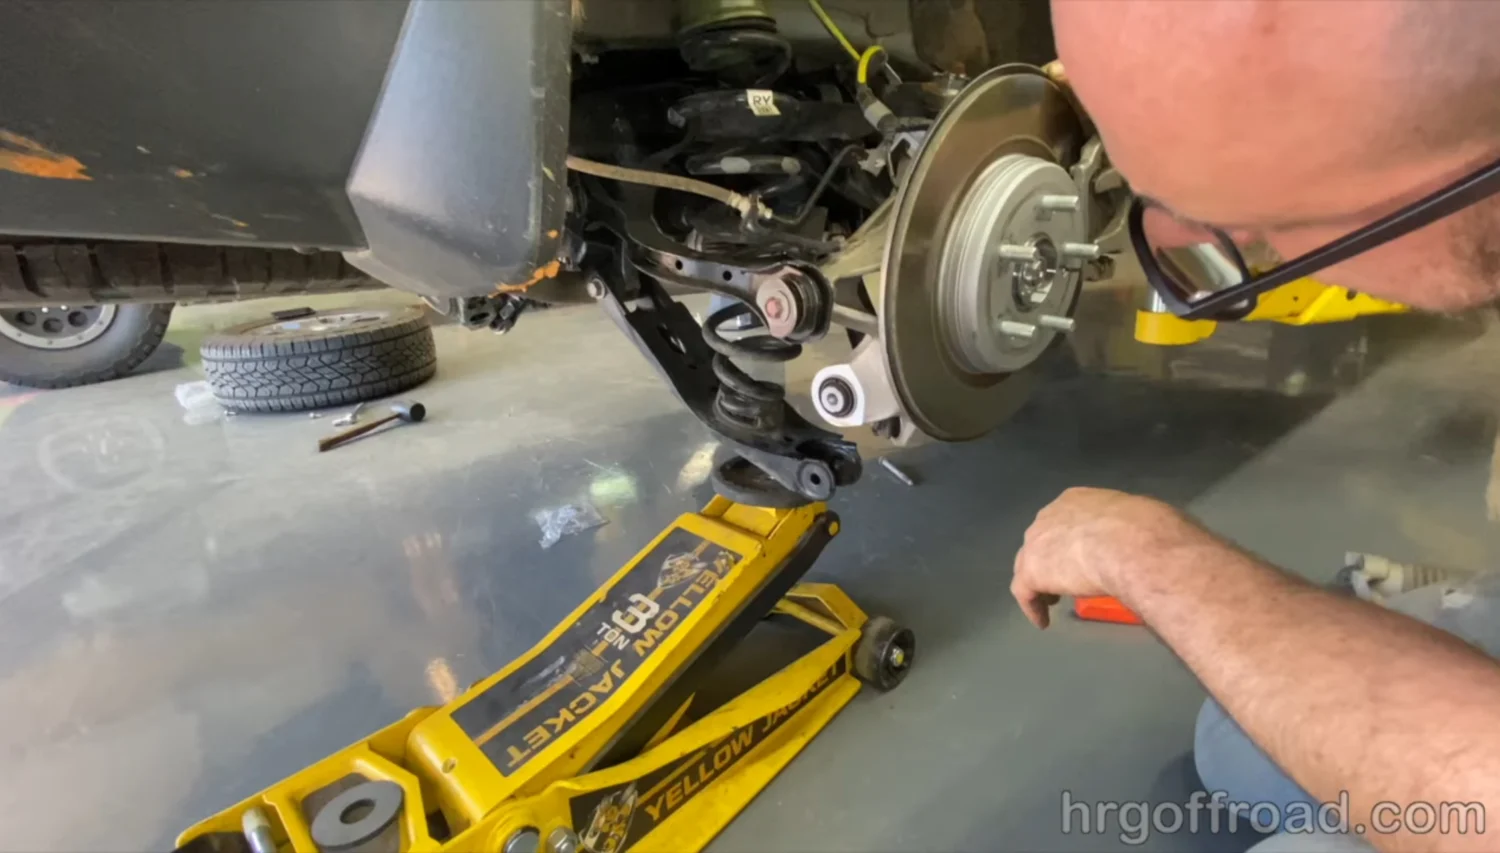
With the main components in place, a few adjustments were needed to achieve the perfect fit. A hydraulic floor jack was invaluable in fine-tuning the position of the lower control arm, allowing for precise alignment when installing the new bolts.
By strategically positioning the jack and using a pry bar for leverage, the installation process became much smoother, ensuring that everything was seated correctly without unnecessary strain.
A Noticeable Improvement
After the lift was installed, it was time for the moment of truth—measuring the final ride height. The results were impressive, with the front sitting at 36.625 inches and the rear at 37.25 inches, delivering over 3 inches of lift. This increased height drastically improves off-road capability by enhancing:
- Approach angle: The angle between the front bumper and the ground, allowing the vehicle to tackle steeper inclines.
- Breakover angle: The midpoint clearance that helps prevent scraping on obstacles.
- Departure angle: The angle at the rear, preventing hang-ups when descending obstacles.
Tire Considerations
The lifted Pilot now provides ample room for larger tires, an essential upgrade for off-road performance. The stock 265/60R18 tires on the TrailSport model could potentially be upgraded to a 32-inch tire with minor modifications, such as removing fender liners.
For those considering the maximum tire size without rubbing, options like 265/65R18 or even 275-width tires might be possible, further enhancing ground clearance and traction.
A New Look, A New Capability
With the HRG 3-inch lift kit installed, the 2007 Honda Pilot now boasts a much more commanding presence and improved capability. Whether it’s navigating rough trails or handling extra cargo with ease, this upgrade provides a perfect balance of practicality and fun.
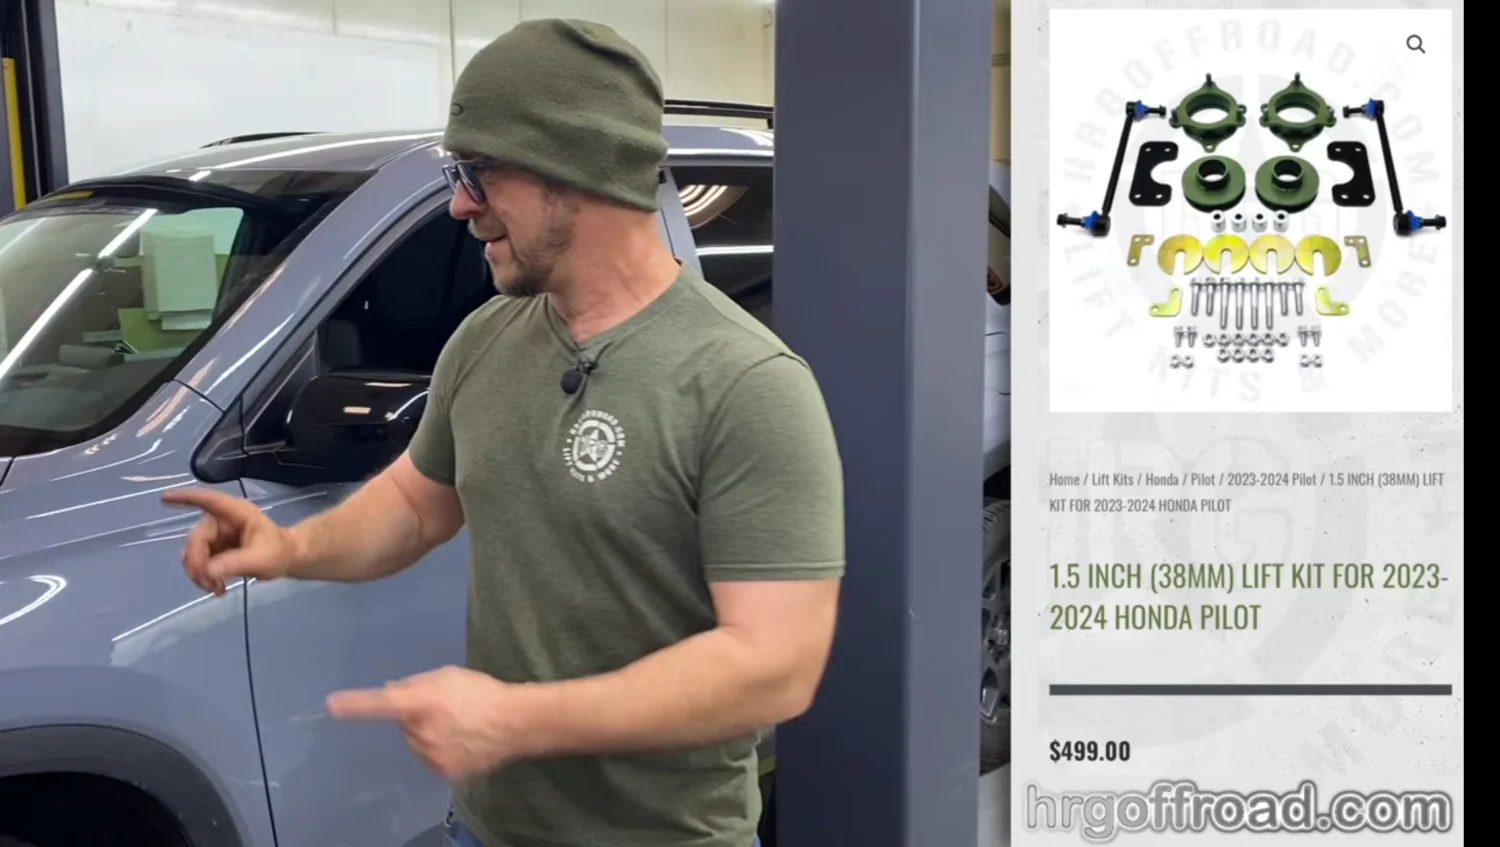
For anyone looking to give their Pilot a similar transformation, the HRG 3-inch Ultimate Lift Kit is available now at hrgoffroad.com, offering both level and rear-high configurations to suit different needs.
Follow HRG Offroad for More Off-Roading Adventures
If you’re interested in more Honda off-road builds, tips, and product reviews, be sure to check out HRG Offroad on their social media channels and website. They specialize in bringing out the off-road potential of unlikely vehicles with high-quality parts and expert advice.
Stay connected:
- YouTube: HRG TV
- Facebook: facebook.com/hrgoffroad
- Instagram: @hrgoffroad
- TikTok: @hrgoffroad
- Twitter: @HRGOffroad
With the right lift kit and a bit of know-how, even an aging Honda Pilot can transform into an off-road-ready machine. Whether you’re tackling trails or just looking to stand out from the crowd, the HRG lift kit is a solid investment for adventurous Honda owners.
