If you’re rebuilding an engine and planning to take the block to a machine shop for work, removing the core plugs (also known as freeze plugs) yourself can save you a bit of cash. While there are a few different methods to get the job done, not all of them are created equal. After years of experience, I’ve settled on a method that works best for me—and today, I’m going to walk you through it.
Setting Up for Success
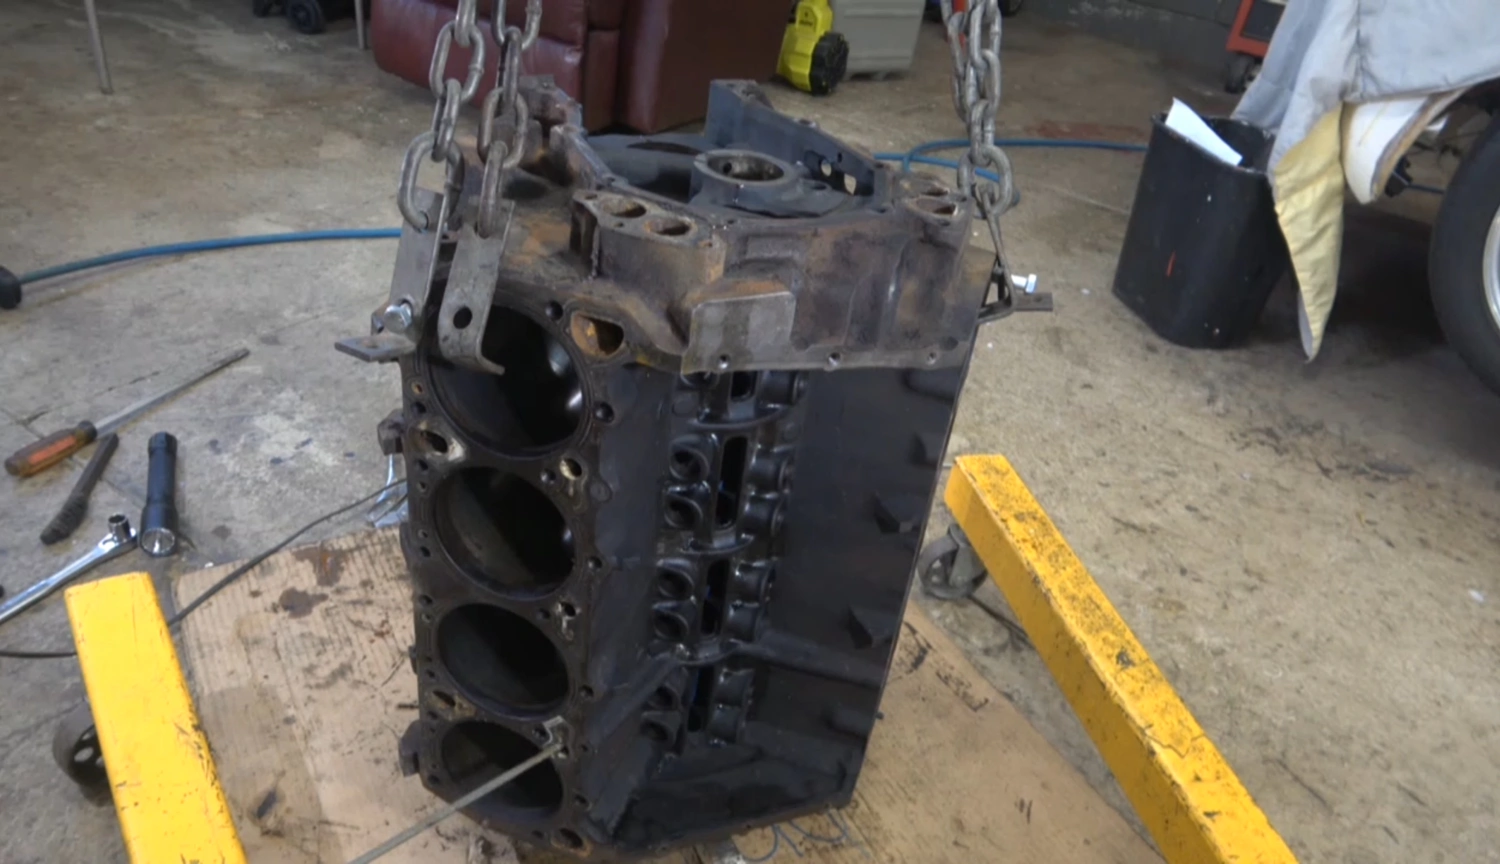
Before diving in, positioning the engine block correctly is key. Make sure it’s laid flat with the core plugs facing up. If you try to remove them with the engine standing on end, you risk a plug falling deep inside the cooling passages—trust me, fishing one out is a nightmare. I learned that the hard way, and it took me an hour to retrieve a rogue plug.
Some people suggest just knocking the plugs in and leaving them inside the block, assuming they won’t move around. Personally, I wouldn’t recommend it. Any debris left inside has the potential to block coolant flow, which can lead to overheating and other engine issues.
The Three Core Plug Removal Methods
There are three common methods for removing core plugs, each with its pros and cons. Let’s break them down.
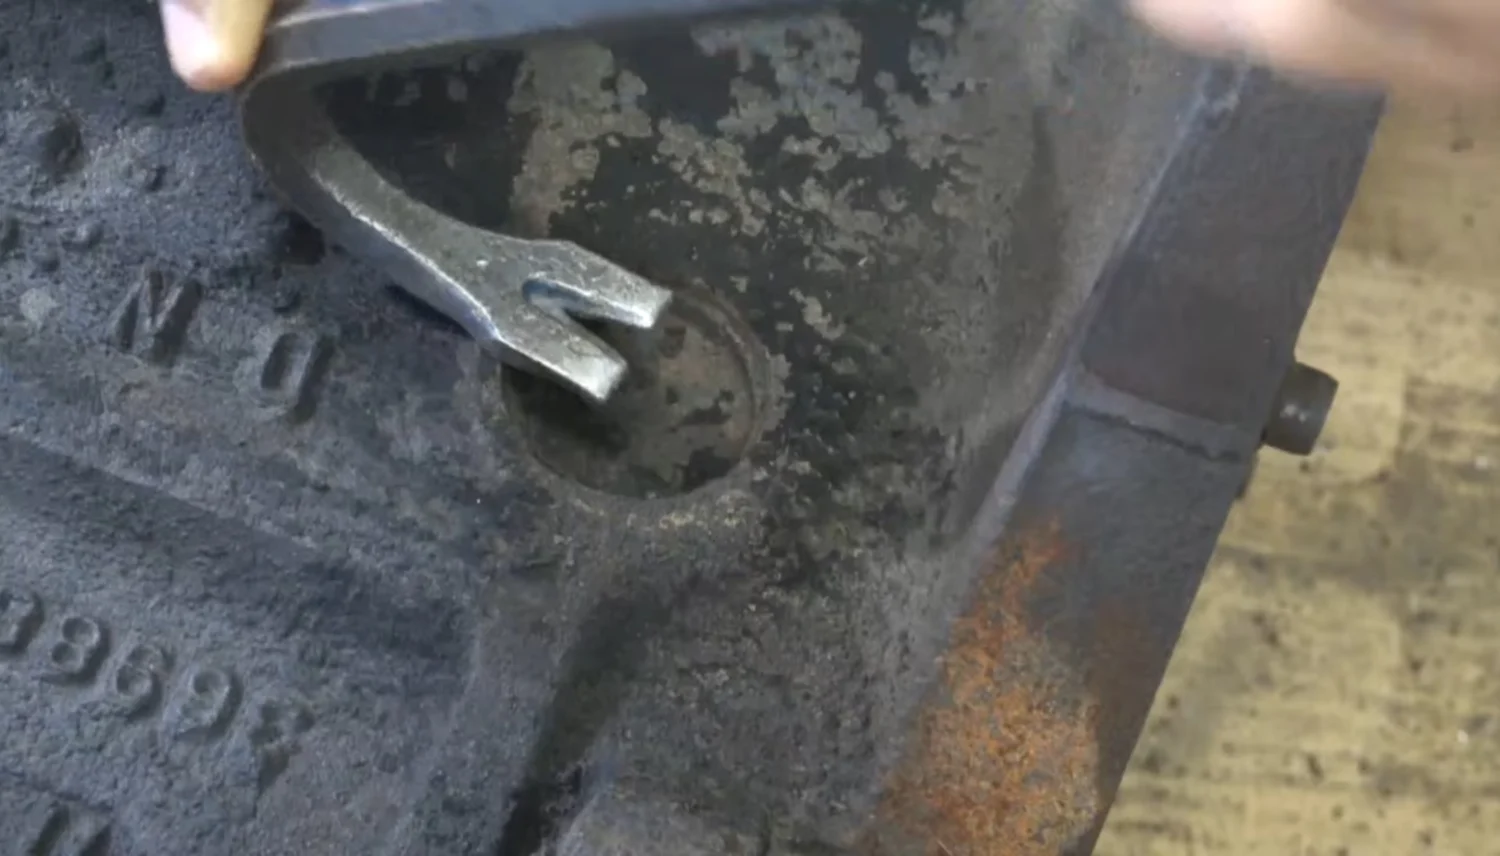
1. The Self-Tapping Screw Method
This technique involves driving a self-tapping screw into the center of the plug and using a pry bar to pull it out. The downside? If the screw pulls out before the plug releases, the plug can fall inside the block, creating more work than you bargained for. It’s not my go-to method for this very reason.
2. The Punch and Rotate Method
Another approach is using a punch to tap the edge of the plug, hoping to rotate it within the bore. The idea is that once the plug pivots, you can grab it with pliers and pull it out. However, if the plug doesn’t pivot and instead gets knocked straight in, you’ve got a bigger problem on your hands.

3. The Drill and Pry Method (My Preferred Technique)
The method I swear by is drilling and prying. Using a step drill, I drill a hole near the edge of the plug—not too close to the cylinder wall to avoid any accidental damage. Once the hole is large enough for my punch, I insert it and apply pressure. This technique ensures the plug pivots without falling inside. If needed, I’ll tap the opposite side with a hammer while lifting with the punch, and eventually, the plug comes right out.
Blowing Out the Block
Once the plugs are removed, it’s crucial to clear out any debris inside the cooling passages. Position the engine with the water pump opening facing upward and use compressed air to blow out any loose debris, starting from the top and working down. This simple step can prevent any leftover sludge from causing future issues.
Dealing with Metal Sludge
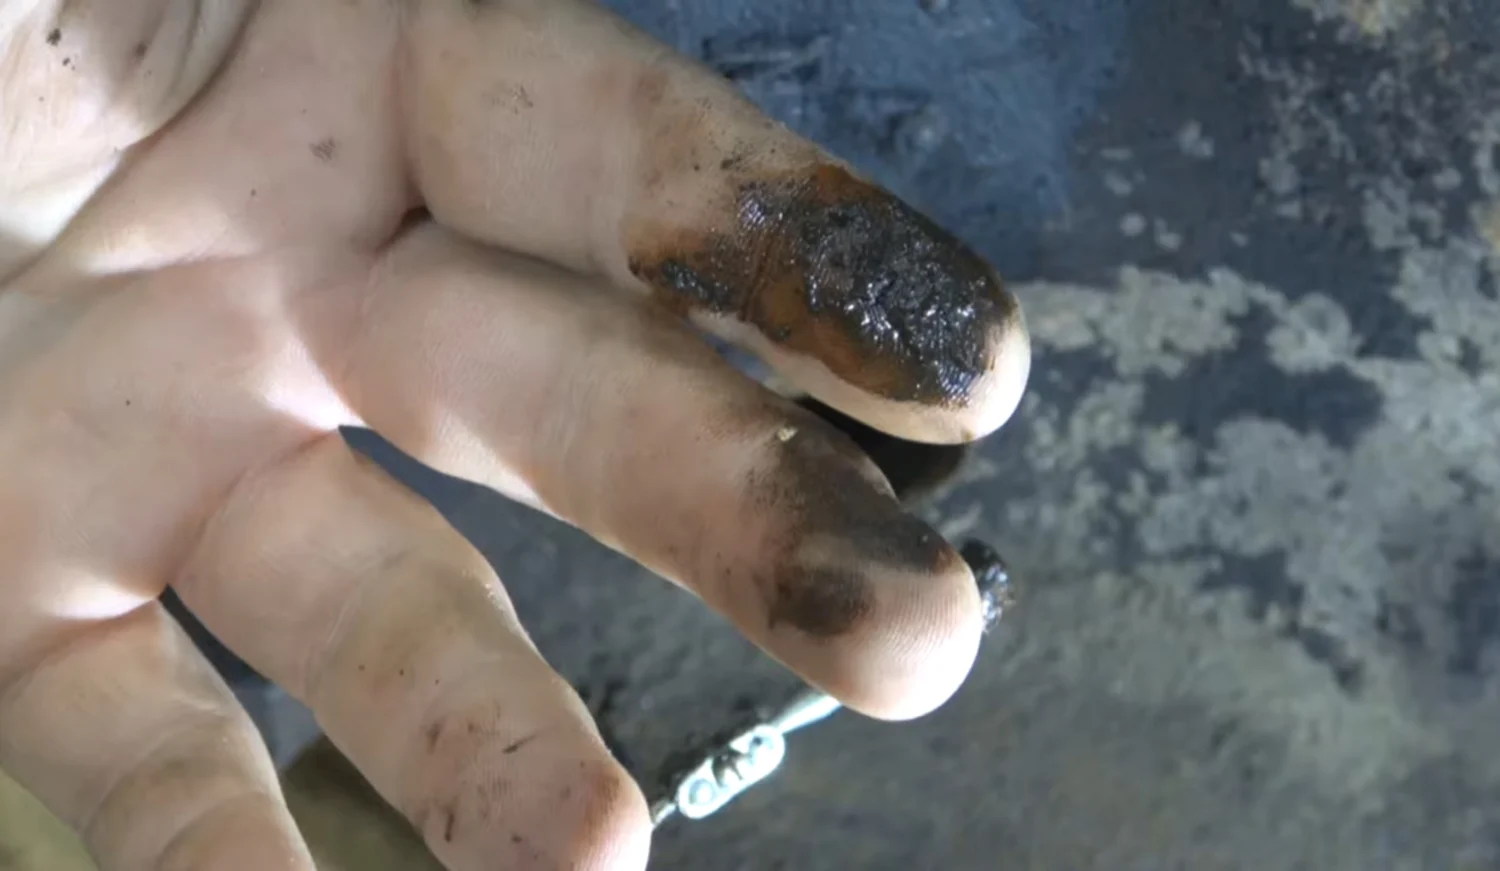
Even with the plugs removed, metal sludge often accumulates at the bottom of the cooling passages over time. A quick trick to remove it? Use a magnet. Running a magnet along the inside of the block pulls out rust and metallic debris that has settled over the years. It’s always worth taking the extra time to do this before heading to the machine shop.
Wrapping It Up
Removing core plugs isn’t a difficult task, and taking the DIY route can save you upwards of $100 in shop labor. In just about 30 minutes, I was able to remove all six plugs, clean the block, and prep it for machining. The key takeaway? The drill and pry method is the safest and most effective way to remove core plugs without unnecessary complications.
For more tips and in-depth tutorials follow me on social media:
- YouTube: Pete’s Garage
- Facebook: Pete’s Garage Buffalo
