If you’re looking to give your 2005+ Mustang GT a serious performance upgrade, look no further than the Tremec T56 Magnum XL. This powerhouse of a transmission can handle over 1,000 horsepower and 700 lb-ft of torque, making it the go-to choice for high-performance builds. Whether you’re planning to tear up the track or just want bulletproof reliability for aggressive street driving, the Magnum XL delivers in spades.
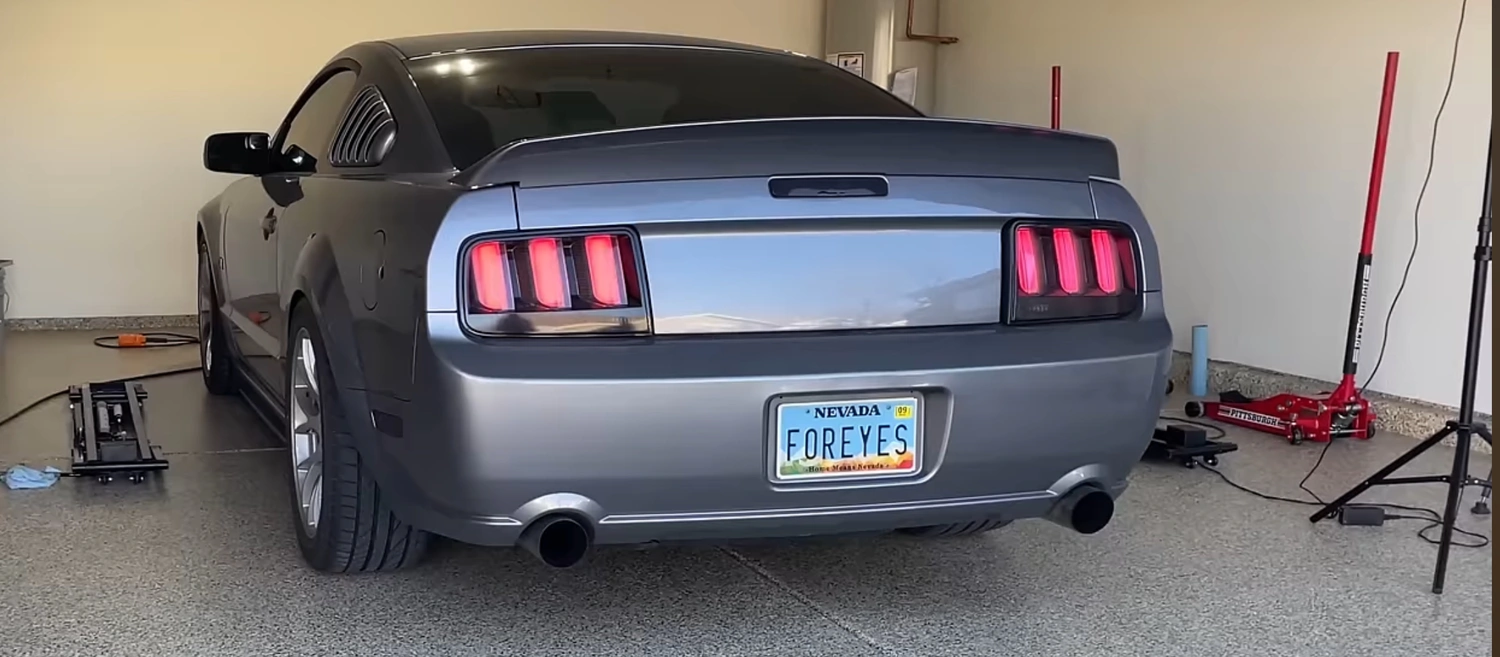
I recently took the plunge and installed one in my 2007 Mustang GT, a necessary step before adding a turbo kit that will push the car well past 700 horsepower. Here’s everything you need to know about the T56 Magnum XL, the parts required for the swap, and how the installation process played out in my garage.
What Makes the T56 Magnum XL So Special?
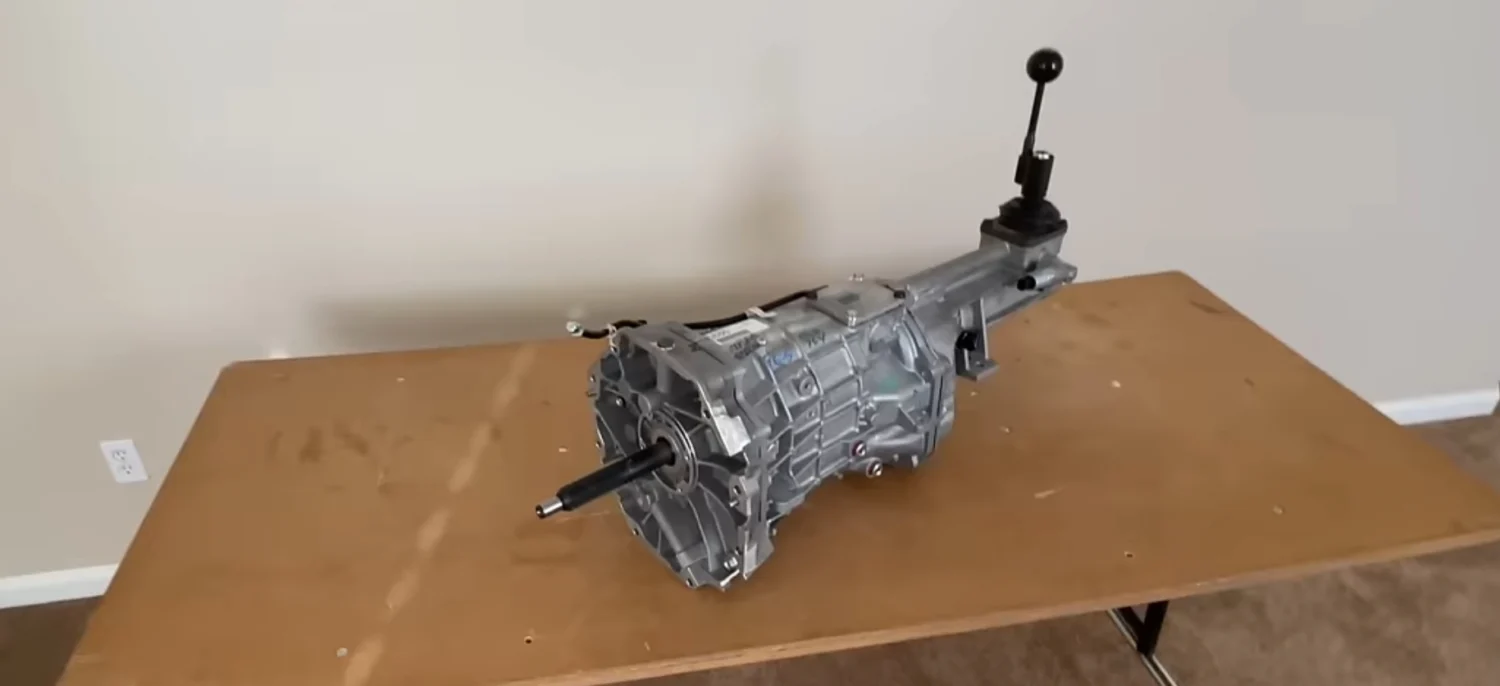
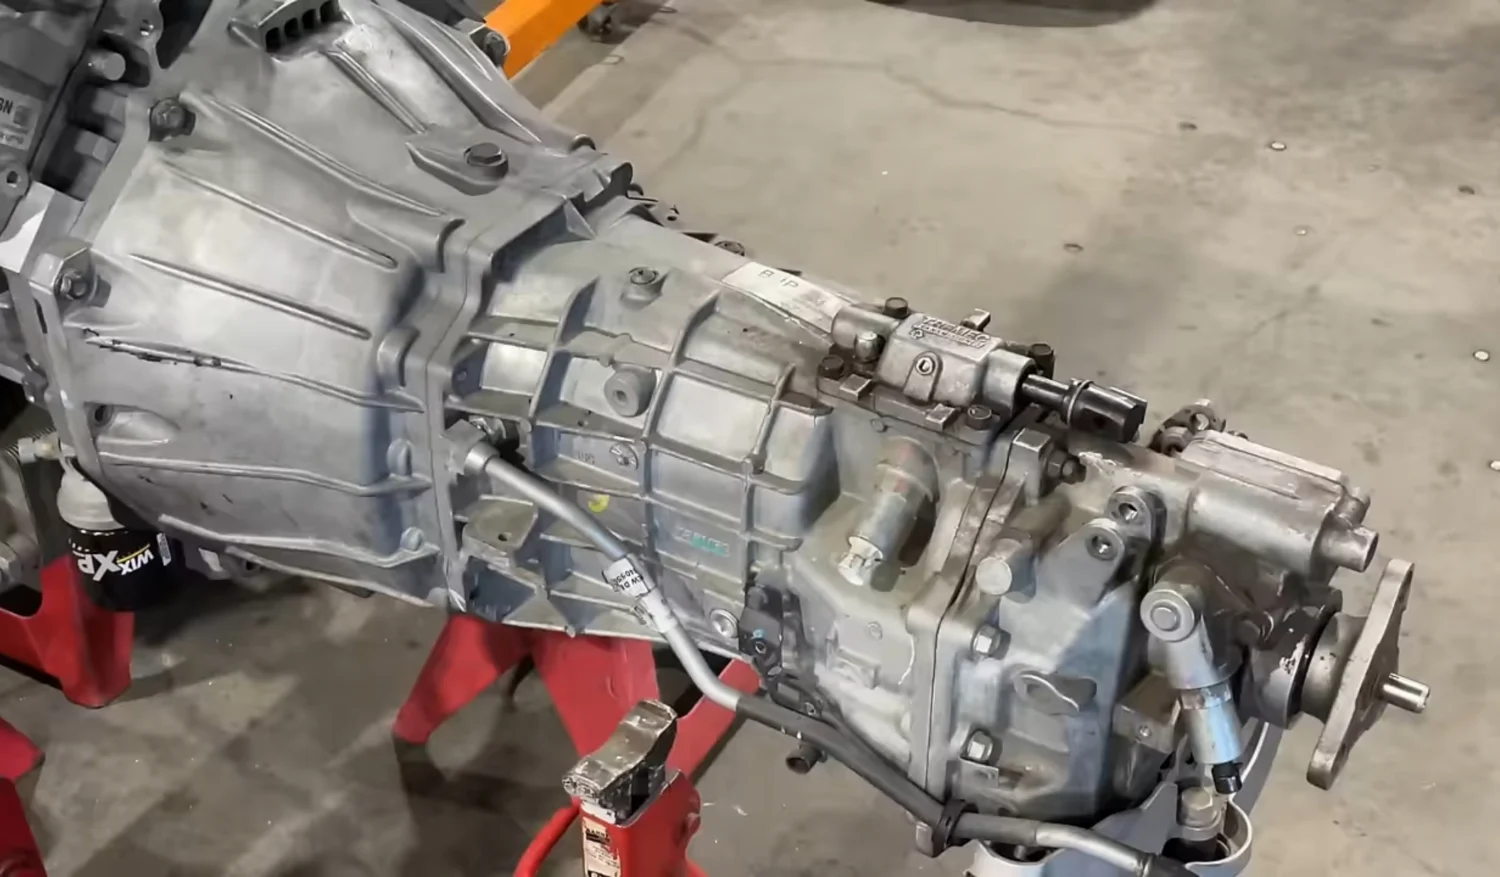
The T56 Magnum XL is essentially the aftermarket version of the TR-6060 found in high-performance machines like the Camaro, Corvette, Hellcat, GT500, and even the fifth-gen Dodge Viper. What sets the XL model apart is its extended length, specifically designed to fit 2005 and newer Mustangs (S197 and S550 platforms).
Unlike the stock MT-82 or TR-3650 transmissions, which feature a semi-remote shifter prone to high-RPM mis-shifts, the Magnum XL’s direct-mount shifter provides rock-solid, precise gear changes even at redline. And with six gears available in multiple ratios, the Magnum XL allows for more aggressive acceleration or fuel-efficient cruising, depending on your build goals.
For my build, I opted for the 2.66 first-gear ratio, ideal for a turbocharged setup producing high power. Tremec even provides a handy online calculator to help you pick the right gear ratio based on your driving style and powerband.
Anatomy of the T56 Magnum XL

Before diving into the installation, let’s get familiar with the key components of the T56 Magnum XL:
- Input Shaft: A beefy 26-spline shaft, ready to handle serious power.
- Output Shaft: A 31-spline slip-yoke design, replacing the stock flange-type connection.
- Reverse Lockout Solenoid: Prevents accidental shifts into reverse at speed (a very good thing).
- Vehicle Speed Sensor (VSS): Feeds speed data to the ECU.
- Fill and Drain Ports: For fluid changes and top-ups.
- Hydraulic Release Bearing: A crucial part for smooth clutch engagement.
What You’ll Need for the Swap
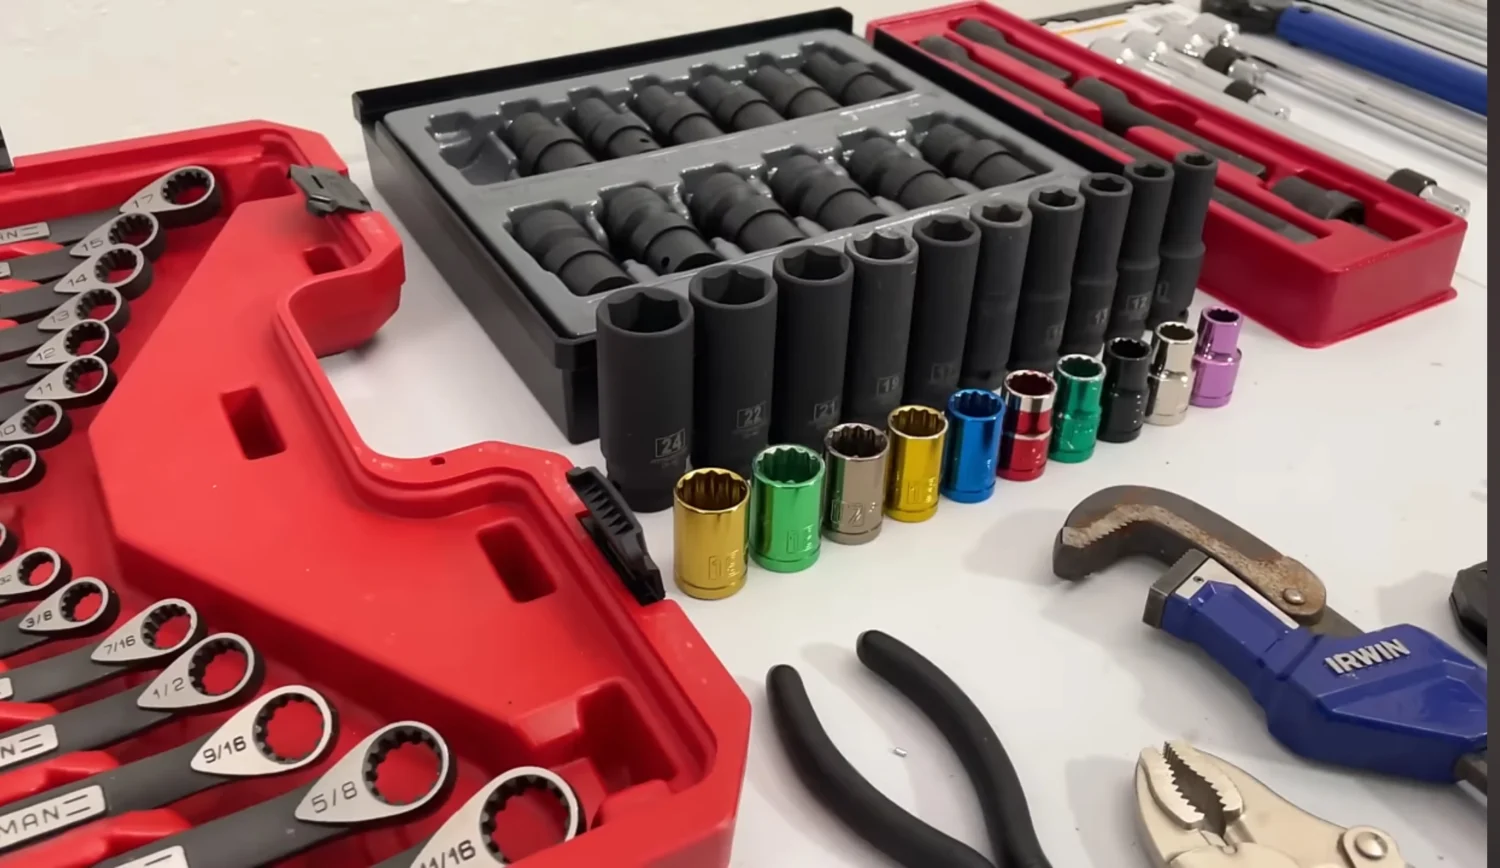
While the transmission itself is a major upgrade, it’s not a simple plug-and-play job. Several supporting parts are required to complete the swap:
- 26-Spline Clutch – The factory clutch won’t cut it. I went with a McLeod RXT twin-disc, rated for 1,000 horsepower, paired with a billet aluminum flywheel to shed weight and free up power.
- Hydraulic Release Bearing – I stuck with an OEM Ford unit for reliability, given my stock one survived 70,000 miles of abuse.
- Driveshaft – Since the Magnum XL is longer and uses a slip-yoke, a shorter driveshaft is required. I initially tried one from Dynotech but ended up with a better-fitting unit from DSS.
- Reverse Light and Lockout Wiring Harnesses – To retain factory functions, you’ll need extensions and harnesses for proper integration.
If you want to avoid sourcing parts individually, companies like Lethal Performance and JPC Racing offer complete conversion kits, taking the guesswork out of compatibility. Expect to spend around $6,500, depending on your chosen options.
The Installation Process
The installation process is fairly straightforward but requires patience, the right tools, and some good old-fashioned muscle. Here’s how it all went down:
Step 1: Prepping the Car
After disconnecting the battery and pinching off the brake fluid reservoir hose, I disconnected the hydraulic clutch line near the brake booster—definitely a tight spot. A rag came in handy for catching any spilled brake fluid, which, as we all know, can destroy paint in seconds.
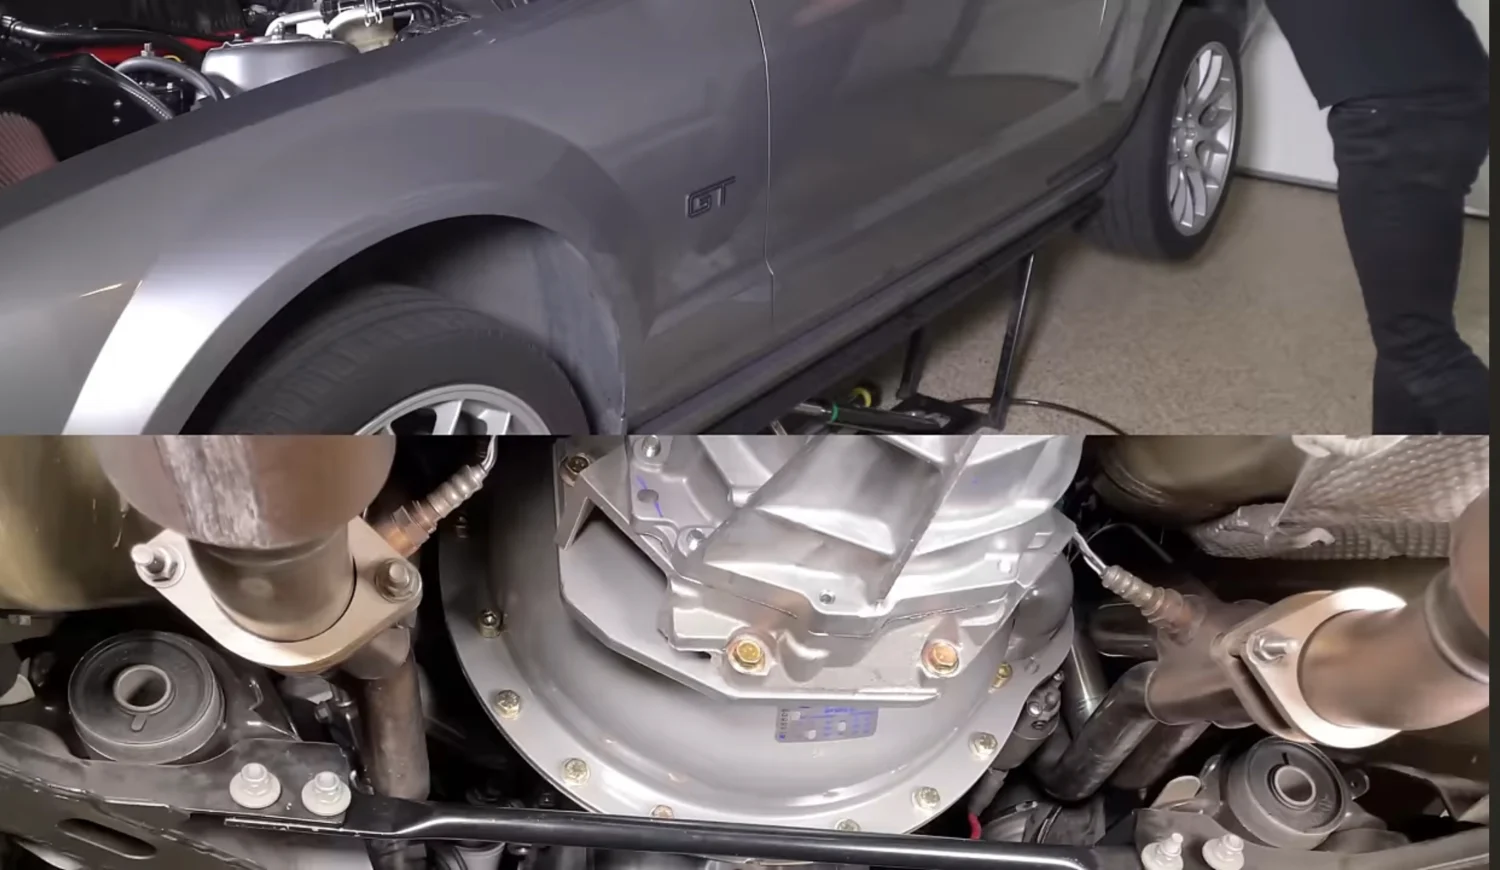
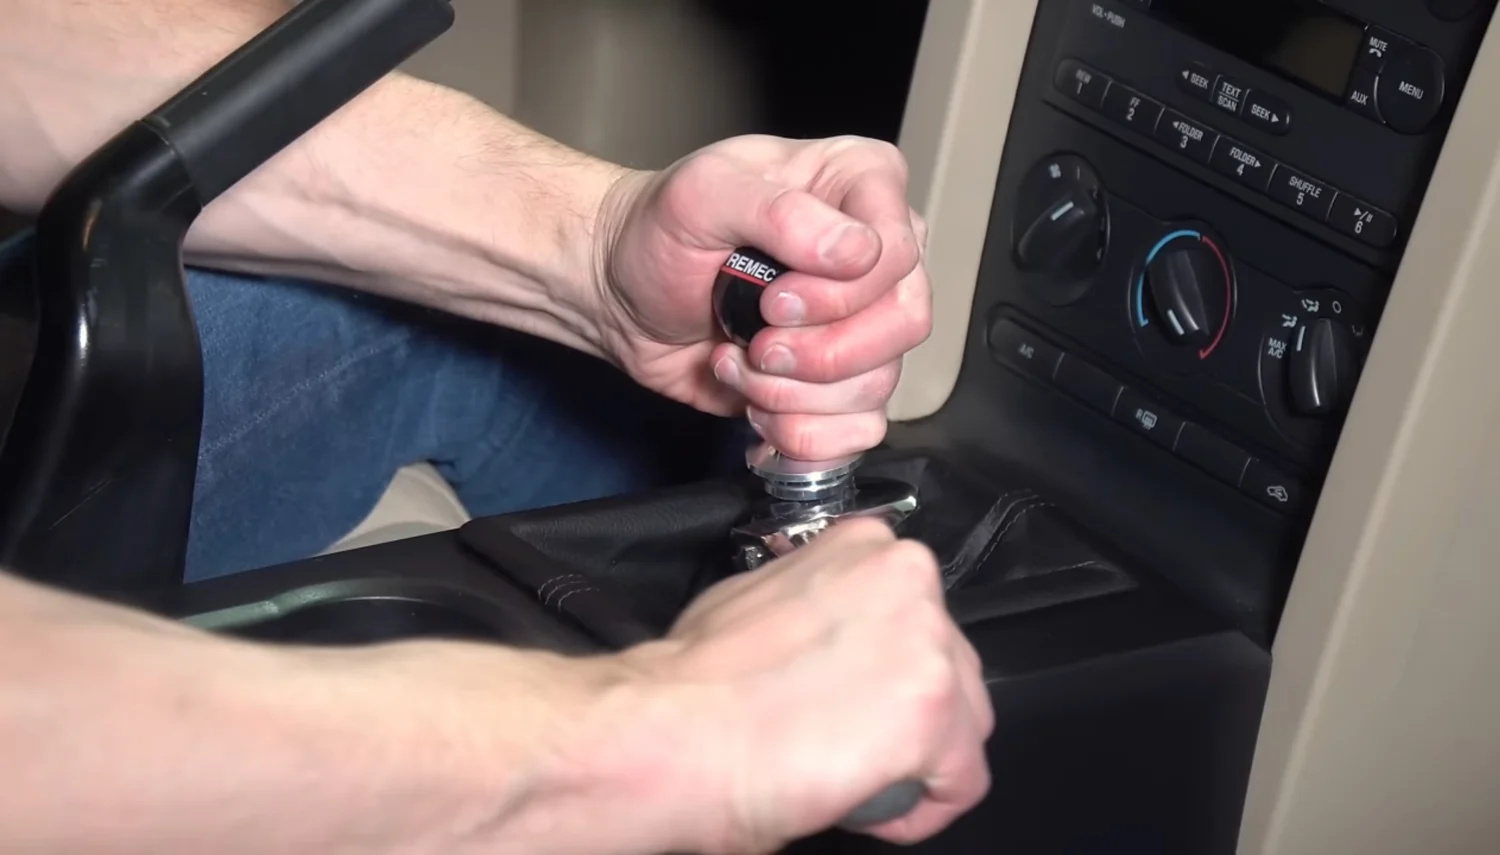
Inside the cabin, I removed the shifter and center console, providing access to the tunnel. Then it was time to lift the car—and here’s where things got tricky. The QuickJack I used didn’t quite provide enough clearance, so plan for at least 26 inches of clearance to slide the transmission in and out.
Step 2: Removing the Old Transmission
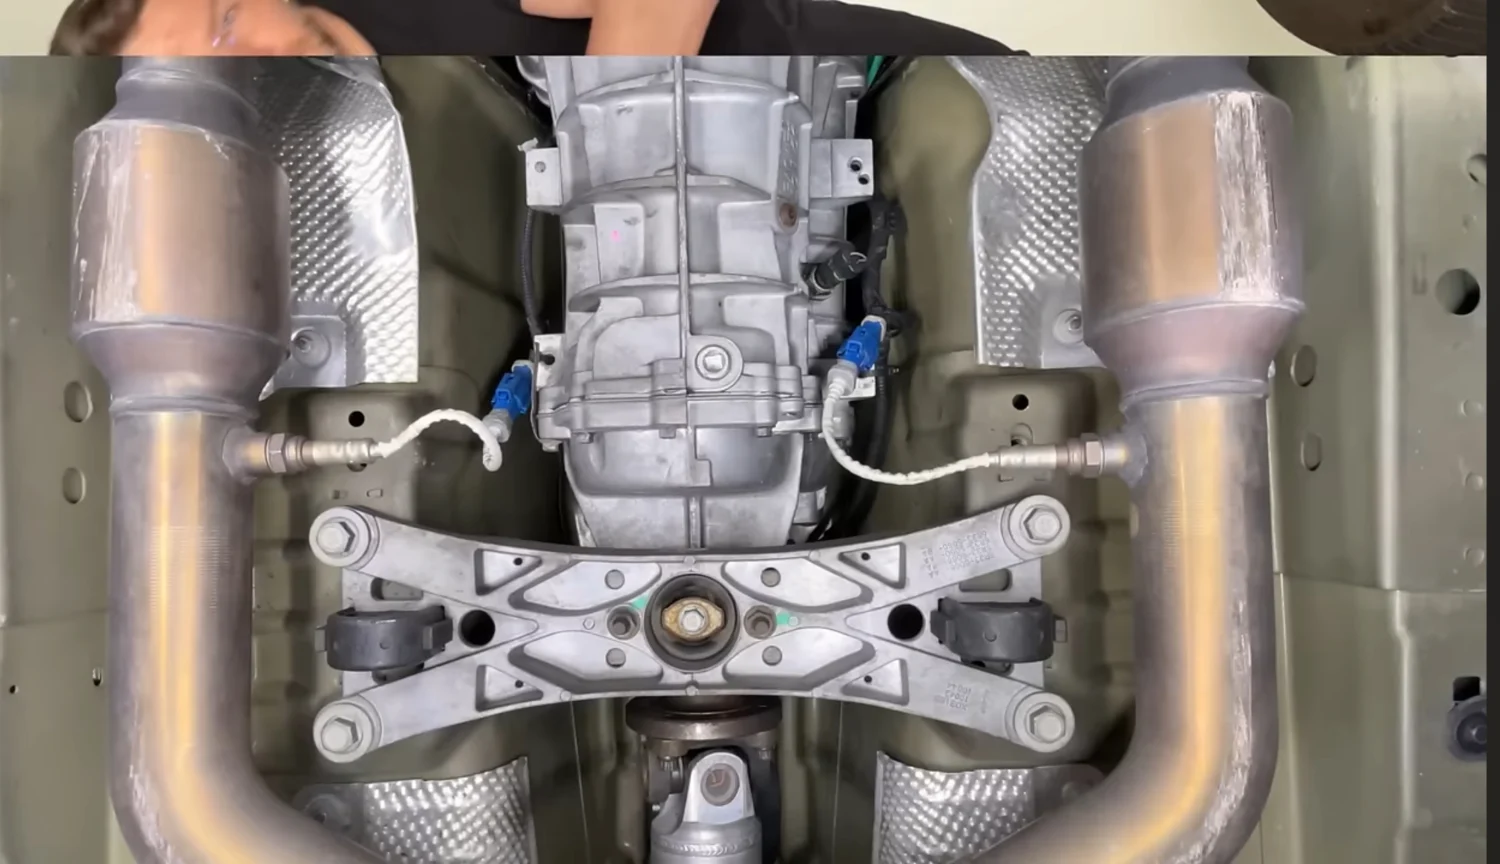
With the car in the air, I removed the cross brace and mid-pipe to make way for the transmission drop. The starter came out next—pro tip: removing the battery (or in my case, having it relocated to the trunk) makes reaching the top bolt much easier.
Once drained of fluid, the stock transmission was carefully lowered using a transmission jack. After some careful wiggling, it was finally free.
Step 3: Installing the Clutch and Flywheel
Installing the new McLeod twin-disc clutch was a delicate process. The assembly consists of multiple discs, a floater plate, and spacers—all of which must be aligned perfectly. To ensure accuracy, I used the Magnum’s input shaft for alignment rather than relying on the plastic tool that came with the clutch.
After torquing everything to spec, I moved on to bolting up the bellhousing, securing it with fresh ARP bolts and plenty of thread lock.
Step 4: Installing the Magnum XL
This was where things got real. The Magnum XL is not light, so balancing it on a transmission jack required patience. After lining up the input shaft and bolting everything up, it was finally seated. Then came the task of reinstalling the driveshaft, crossmember, and starter.
Step 5: Filling Fluids and Finishing Touches

The Magnum XL takes about 4 quarts of fluid, and with a simple hand pump, it was filled up in no time. After reinstalling the exhaust, the hydraulic clutch line was reconnected, and the bleeding process began.
At first, the clutch pedal felt dead, but after about 15 minutes of pumping, it was fully functional. A quick check of fluid levels, and the moment of truth had arrived—the first test drive.
Driving Impressions
Once the car was back on the ground, I took it for a test drive, carefully breaking in the new clutch over a few hundred miles. The difference was night and day.
- Shifts are crisp and precise, with no more high-RPM mis-shifts.
- The new gear ratios make the car feel more powerful and responsive, especially under boost.
- Highway cruising is noticeably smoother with the taller 6th gear.
After completing the recommended 1,200 shift cycles, I finally had the confidence to push the car harder.


Is the T56 Magnum XL Worth It?
Absolutely. While it’s a significant investment in both time and money, the Magnum XL transforms the driving experience of the Mustang GT, making it more capable and reliable under high power loads.
Whether you’re planning a turbo build like mine or just want a transmission that can keep up with serious track use, the T56 Magnum XL is a solid choice.
If you’re considering a similar upgrade or want to check out more Mustang and Viper content, be sure to follow my journey on YouTube and on Instagram, and TikTok.
